Skip to content


If you’re anything like I was a few years ago, the snack drawer was a zone of guilt filled with highly processed, brightly colored boxes. Cooking felt like way too much work after a grueling corporate day. But you know what snapped me out of that cycle? Finding joy in the simple things, like pulling a perfect, crispy snack out of my own oven. That’s where mastering these homemade healthy cheez-its came in. Forget the artificial stuff; we’re making real, cheesy, crunchy crackers from scratch using whole grains that actually taste incredible. I promise you, this recipe is pure cooking joy in cracker form, giving you that familiar snap without any of the weird ingredients.
- Why You Will Love These Homemade Healthy Cheez-Its
- Gathering Ingredients for Your Homemade Cheese Crackers Recipe
- Step-by-Step Guide to Baked Cheese Crackers From Scratch
- Baking Tips for Perfect Whole Grain Cheesy Crackers
- Making Homemade Alternative to Boxed Crackers: Variations
- Storage and Reheating Instructions for Homemade Healthy Cheez-Its
- Frequently Asked Questions About Homemade Healthy Cheez-Its
- Nutritional Snapshot of These Homemade Crackers
- Share Your Homemade Snack Recipes Success
Why You Will Love These Homemade Healthy Cheez-Its
When you make them yourself, suddenly that afternoon snack isn’t just acceptable—it’s something you look forward to! These scratch-made beauties beat the store-bought versions hands down. Here is why I think you’ll want to bookmark this recipe immediately:
- They deliver that intense, sharp cheddar punch you crave, thanks to using really good, sharp cheese.
- We swap out processed white stuff for whole wheat pastry flour, making them a much better whole grain cheesy cracker choice.
- The texture is unbelievable! Roll them thin, and you get a cracker that snaps perfectly every time—the ultimate homemade alternative to boxed crackers.
- They are seriously freezer-friendly and make fantastic healthy lunch box fillers for the family.
- You control the sodium! Make them as a low sodium cheese crisps option by adjusting the added salt to your liking.
- Kids absolutely adore them, and honestly, knowing exactly what goes into them makes them the perfect kid friendly healthy snack.
- Total prep time is short enough that you can whip up a batch when that craving hits hard.
Gathering Ingredients for Your Homemade Cheese Crackers Recipe
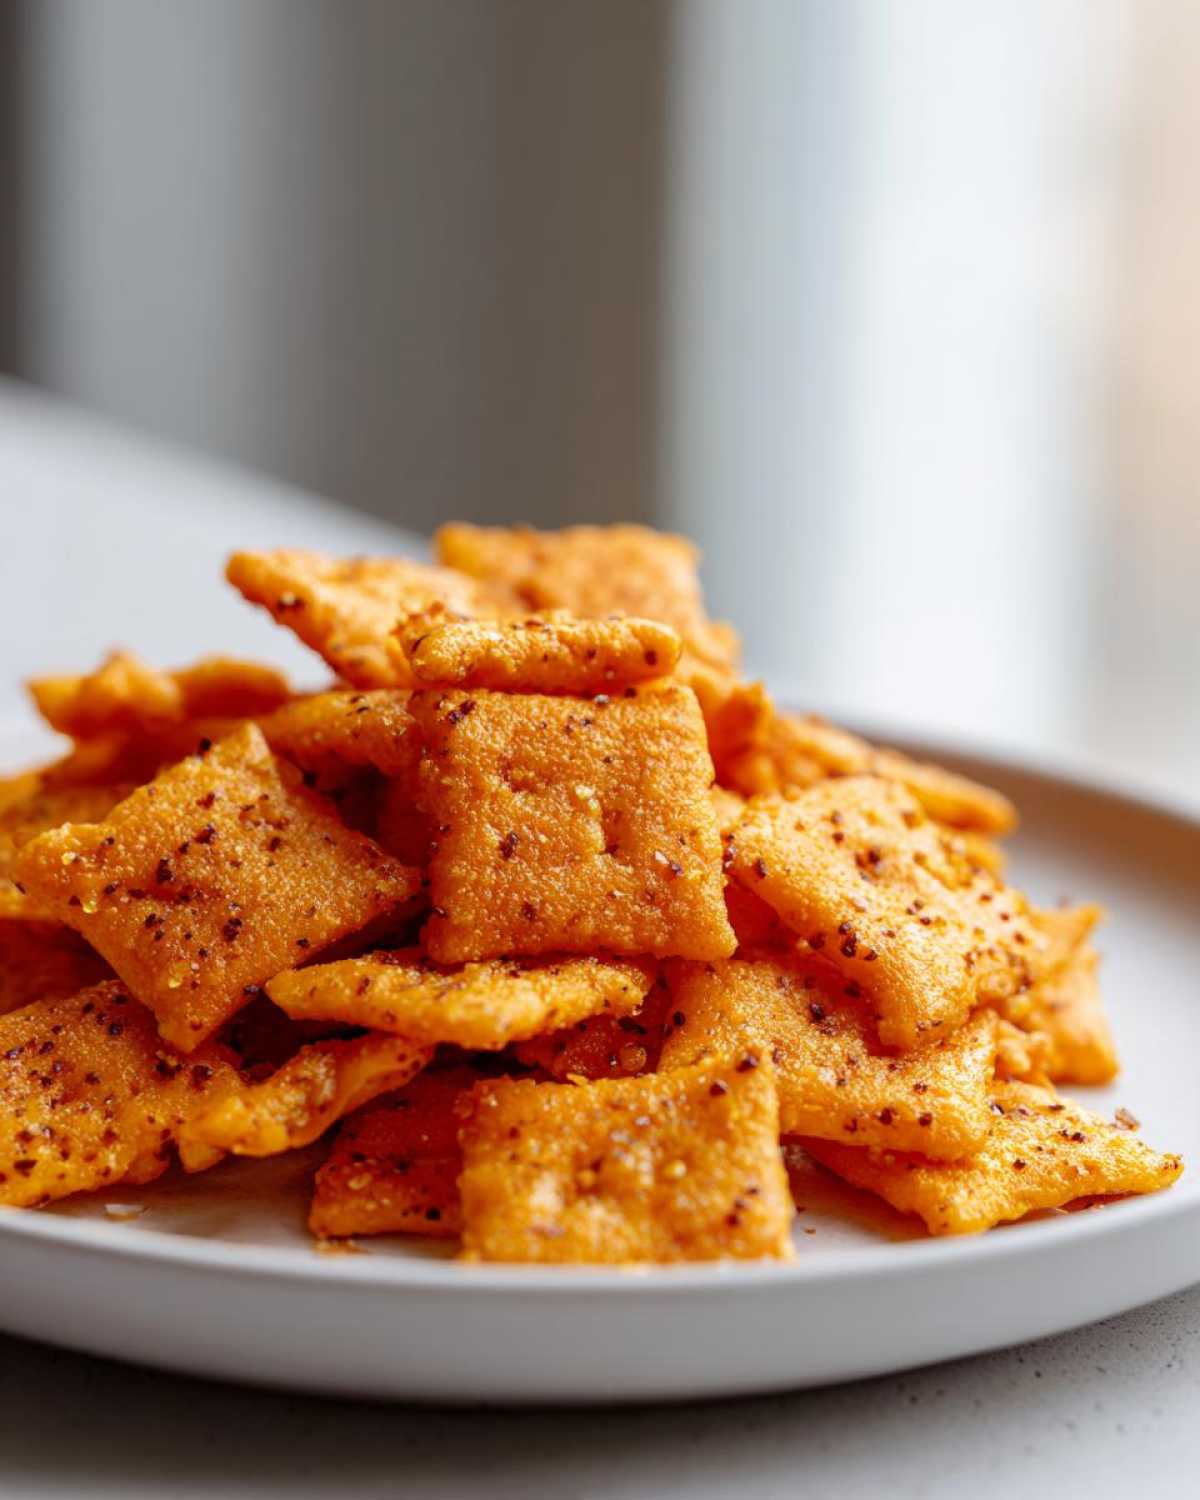
Okay, before we dive into the mixing frenzy, let’s talk about what goes into these incredible homemade cheese crackers recipe. Because we are going for healthy, every ingredient matters! You’ll need two flours—whole wheat pastry flour for texture and a little all-purpose flour to keep things light. The real flavor hero is going to be sharp cheddar cheese, and please, please make sure it’s finely shredded. Pre-shredded stuff is coated with stuff that stops it from melting right, trust me on this.
We also add a little punchy Dijon mustard and some smoked paprika. The paprika is my secret weapon; it gives you that classic color boost without any artificial dyes! Make sure your butter is cubed and super cold when you measure it out. We want layers of flavor, not one giant melted clump.
Ingredient Notes and Smart Substitutions
This is where you tailor the recipe to your kitchen. If you need a gluten free cheese crackers recipe, swap the wheat flours for a good quality 1:1 GF blend. For those who want a vegan homemade cheez its alternative, skip the butter and cheddar and use solid coconut oil and a generous amount of nutritional yeast—it hits that savory note perfectly.
And if you are watching salt intake, no problem! You can easily make these fantastic low sodium cheese crisps by using unsalted butter and cutting the added salt in half. That way, you get the flavor without the worry.
Step-by-Step Guide to Baked Cheese Crackers From Scratch
Alright, here’s where the magic truly happens for these amazing homemade healthy cheez-its! This process is all about keeping things cold and moving quickly so we don’t melt that beautiful butter. First things first, make sure your oven is set to 375°F—we want those trays ready to go. Now, grab your big bowl and whisk those dry ingredients—flours, salt, and baking powder—together first. This ensures everything is evenly distributed before we get to the fun, crumbly part.
Mixing the Dough for Your Homemade Healthy Cheez-Its
Next, toss in your cold, cubed butter. You need to cut this in until it looks like coarse, uneven crumbs; think peas or coarse sand. Then, fold in that shredded cheese. When you add the wet stuff—that cold water mixed with the Dijon—it’s supposed to look messy. Seriously, stop mixing when it just comes together into a shaggy mess. Overmixing is the enemy here! Knead it maybe two or three times just to bring it together into a disc, wrap it up tight, and let it chill for at least half an hour. That rest time is non-negotiable, it firms up the fat and makes rolling possible.
Rolling and Cutting for Maximum Crispness
Once chilled, get those sheets lined with parchment paper. Divide the dough in half and roll one piece out as thinly as you possibly can—I mean paper thin, about 1/16 of an inch. That’s the secret to getting that shatteringly crisp snap you want in a copycat cheese crackers recipe. Cut them into squares, and then use a toothpick to poke a tiny hole dead center in each one—that lets the steam escape! Sprinkle them with a tiny bit of salt and the smoked paprika for color, and then they’re ready for the heat.
Baking Tips for Perfect Whole Grain Cheesy Crackers
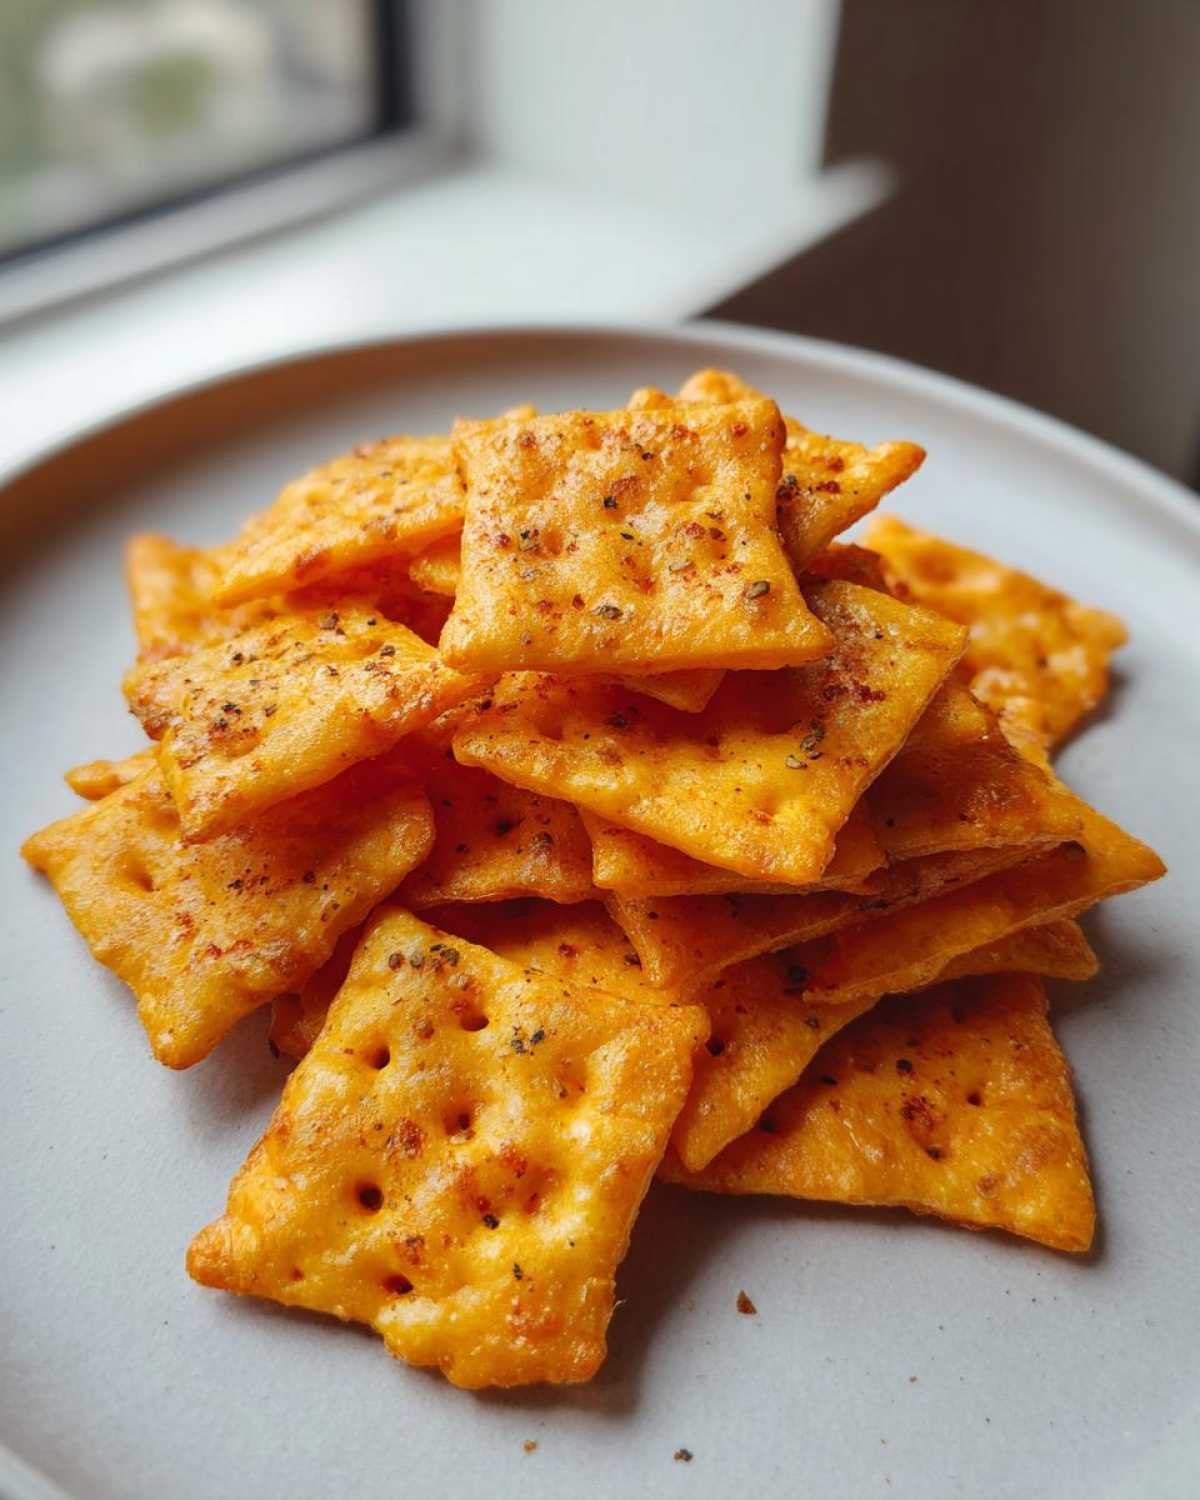
Now that you’ve got those beautifully thin squares lined up, don’t walk away from the oven! Since these are whole grain cheesy crackers, they can brown a little faster than the store-bought versions. You’re aiming for 10 to 14 minutes at 375°F, but watch those edges! I always rotate my baking sheets halfway through because my oven has hot spots, and we want absolutely even golden color across the board.
My biggest tip for achieving the best homemade savory crackers is patience in cooling. They will feel slightly soft right out of the oven—that’s completely normal. Let them sit undisturbed on the baking sheet for a good 15 minutes before you even think about moving them. They crisp up and lock in that snap as they cool down completely. Trust me; nobody likes a floppy cheese cracker!
Making Homemade Alternative to Boxed Crackers: Variations
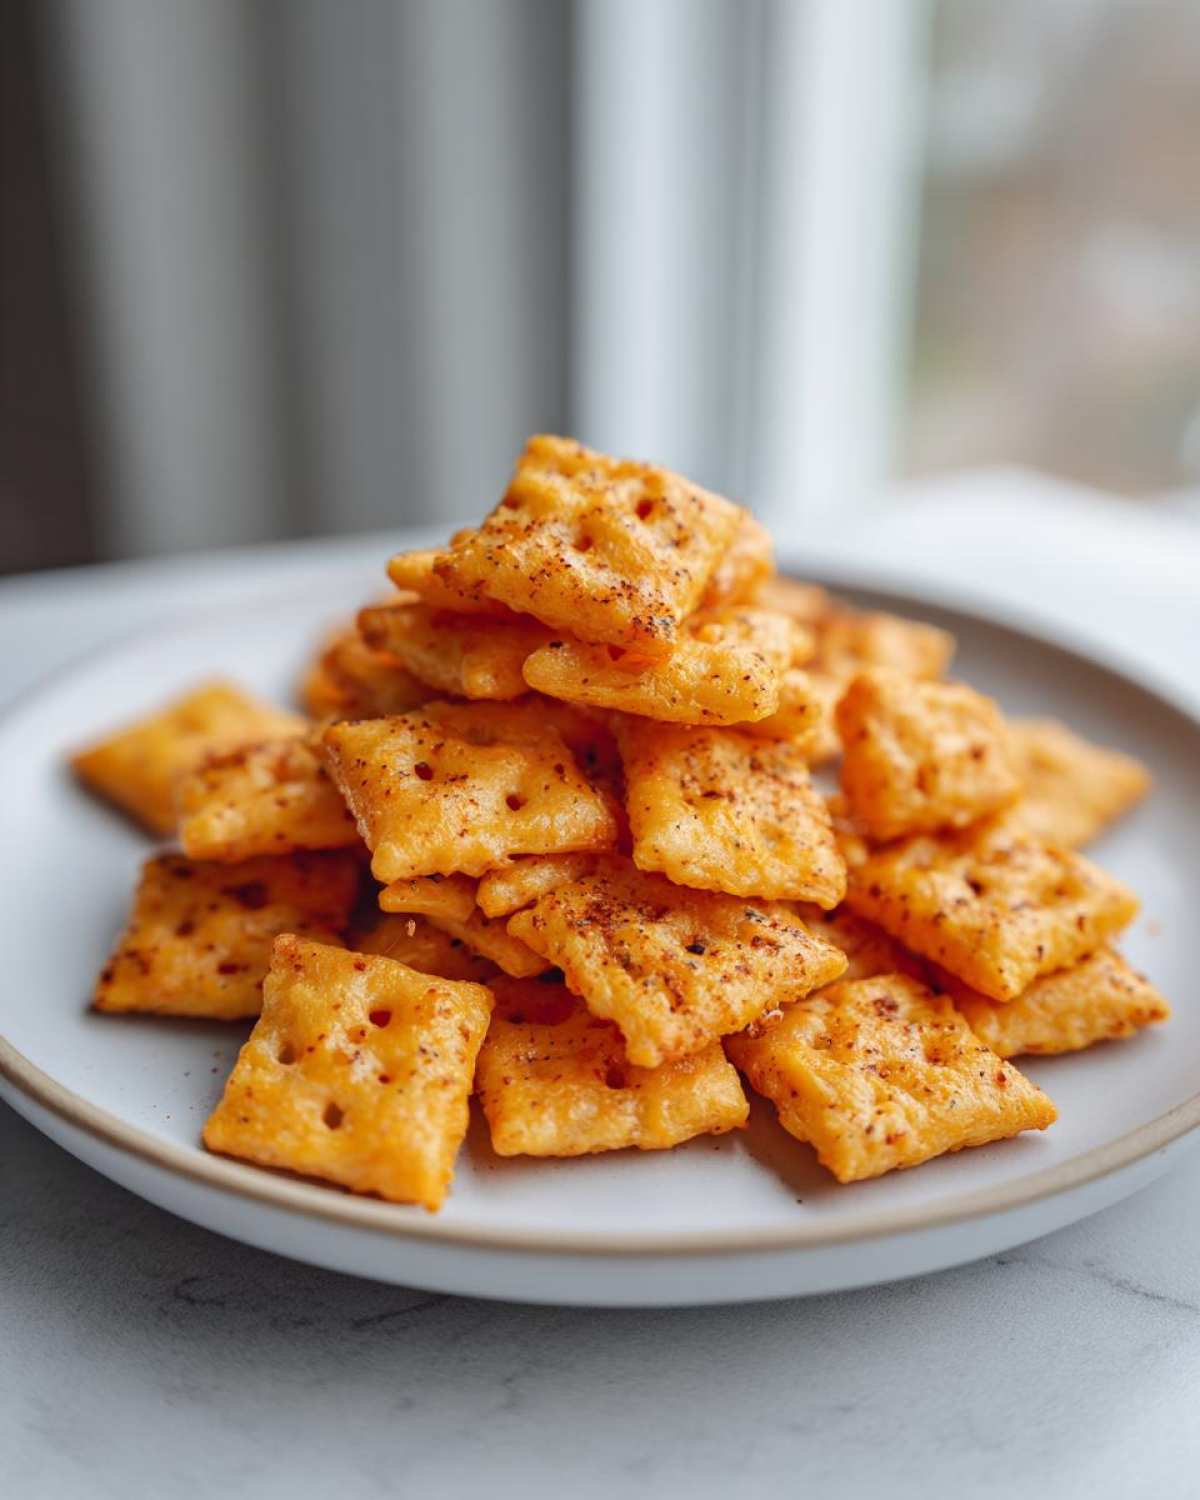
The fun part of making your own scratch made savory snacks is that you are the master of the flavor profile! While the cheddar version is dynamite, don’t feel tied down. You can easily swap out that sharp cheddar for something bolder. I love grating in about half a cup of salty Parmesan for a serious umami kick, or maybe some nutty Gruyère if I’m feeling fancy.
If you want to lean into the herb side, try folding in a teaspoon of dried rosemary or some fresh thyme right when you add the cheese. It wakes everything up! For those who like a little heat, fresh black pepper or a pinch of cayenne pepper goes beautifully with the paprika. Feel free to check out some of my other kitchen experiments over on my Facebook page here if you need more inspiration!
Storage and Reheating Instructions for Homemade Healthy Cheez-Its
Part of the joy of making these, as you now know, is that they are amazing for meal prepping and having on hand. But how do you keep that gorgeous, snappy texture? The key is airtight storage, every single time. Once the crackers are completely, totally cool—and I mean room temperature—transfer them right into a sturdy, airtight container.
If you used the whole wheat flour, they’ll stay wonderfully crisp like this for about five to seven days. If you’re really worried about humidity, you can pop a paper towel in the container to absorb any lingering moisture. I’ve even seen people use one of those little silica packets if they have food-safe ones, but honestly, a good seal is usually enough.
Now, what happens if you pull out an older batch after a week, and they’ve gone just a tiny bit soft? Don’t toss them! That’s the beauty of homemade healthy cheez-its; you can revive them instantly. Just spread them back out on a baking sheet and pop them into a 300°F oven for about five minutes. Watch them closely because they’ll crisp right back up. It’s like magic, and suddenly they taste fresh-baked all over again!
Frequently Asked Questions About Homemade Healthy Cheez-Its
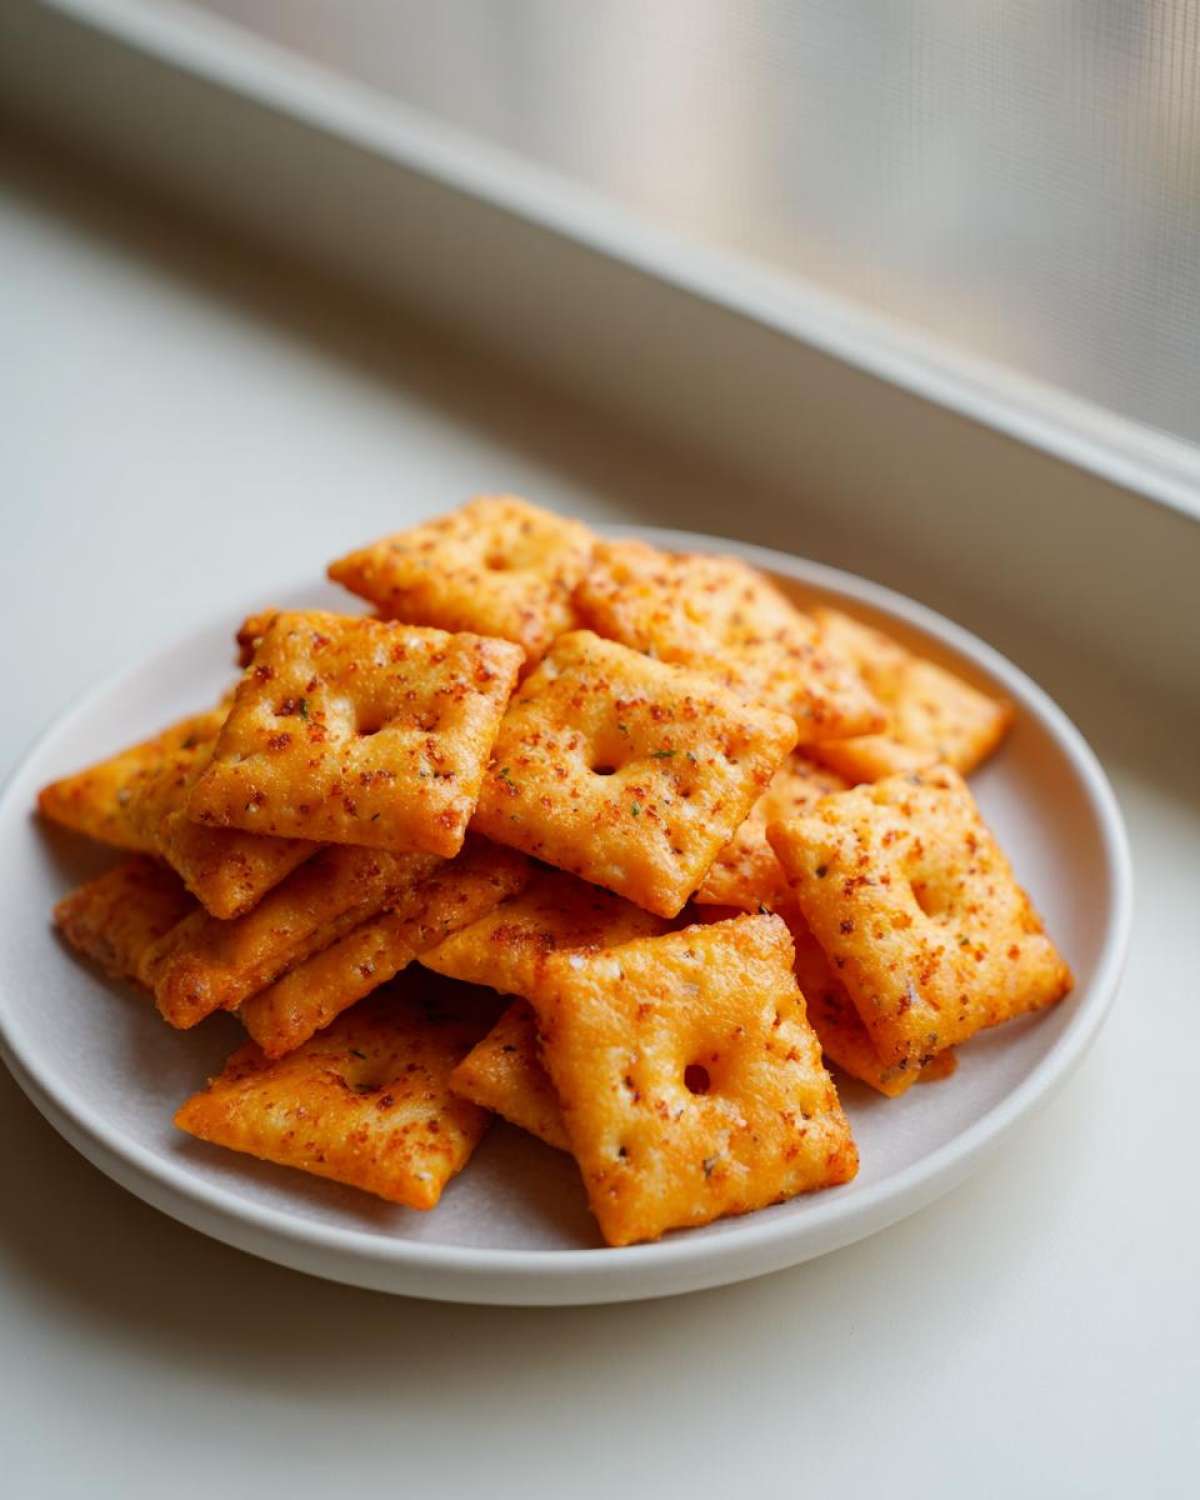
I know when I first started baking these, I had a million little questions running through my head! It’s always better to ask than to end up with dull crackers, right? Here are the things I get asked most often about making these healthy homemade crackers at home.
Can I make these gluten free?
Absolutely! That was one of the first things I tested out when I was trying to find the best homemade savory crackers for my friend who has sensitivities. You can swap the combination of flours for a good quality 1:1 gluten-free blend that already contains xanthan gum. If your blend doesn’t have it, add about half a teaspoon of it yourself when you mix the dry ingredients. The texture comes out fantastic!
How do I get that super sharp, intense cheese flavor?
You hit the nail on the head with the keyword there—sharpness is everything! You MUST use freshly grated, sharp aged cheddar. Do not settle for medium or mild. The aging process concentrates that cheesy flavor, which is why these baked cheese crackers from scratch taste so much better than the boxed version. Don’t be shy with the cheese amount, either.
Is chilling the dough really necessary?
Yes, yes, and yes! I know when the craving hits, you want to skip straight to baking, but chilling the dough for at least 30 minutes is crucial. This is non-negotiable if you want thin crackers. Chilling solidifies the butter again, which prevents the dough from sticking everywhere when you try to roll it super thin. If you skip it, you’ll end up with thick, puffy crackers instead of crispy ones. That resting time makes all the difference for achieving that perfect snap!
Nutritional Snapshot of These Homemade Crackers
I always want you to feel good about what you’re eating, especially when you’re filling your snack drawer with treats like these. Because we’re using whole wheat flour and real cheese, we’ve kicked out a lot of that processed junk found in the box. This recipe gives you a fantastic flavor payoff for the nutritional investment.
For reference, here is the estimated breakdown per serving size, which we estimate is about 12 little squares. Remember, if you swap out the cheese for a lower-fat variety, or if you use unsalted butter, these numbers will shift slightly. This is an estimate, not a guarantee, but it will give you a great idea of what you’re enjoying!
- Serving Size: 12 crackers
- Calories: Around 145
- Fat: About 9g (This is where the delicious butter and cheese shine!)
- Saturated Fat: Approximately 5.5g
- Carbohydrates: Roughly 13g
- Fiber: A nice bonus of 1.5g from the whole wheat!
- Protein: About 4g
- Sodium: Low, around 180mg, depending on the salt you add.
See that? A decent amount of fiber and protein to keep you satisfied—that’s what makes these superior homemade healthy cheez-its compared to the airy, empty-calorie crackers you see on the shelves. Knowing the facts just makes them taste even better!
Share Your Homemade Snack Recipes Success
Honestly, seeing pictures of what you whip up in your own kitchen is what keeps me going here at Pure Cooking Joy! I’ve shared my very best secrets for these homemade healthy cheez-its, and now I want to hear all about your batch. Did you stick to the sharp cheddar, or did you get wild and try Gruyère? Tell me everything about how you customized these scratch made savory snacks!
Please jump down into the comments below and leave a rating and let me know how they turned out. Were they thin enough for that perfect snap? I truly believe that making something simple and delicious with your own two hands—like this incredibly easy cracker—is where that real, quiet joy in cooking comes from.
If you snapped a picture while they were cooling, I would absolutely love to see it! Tag me wherever you are sharing online so I can cheer you on. Thanks so much for trusting me in your kitchen today; I hope these fantastic crackers bring a little bit of simple happiness to your busy week!
PrintHealthy Homemade Cheez-Its Recipe

Make your own crispy, cheesy crackers from scratch using whole wheat flour for a healthier alternative to boxed snacks. This recipe delivers big flavor with simple ingredients.
- Prep Time: 20 min
- Cook Time: 14 min
- Total Time: 64 min
- Yield: About 6 dozen crackers 1x
- Category: Snack
- Method: Baking
- Cuisine: American
- Diet: Vegetarian
Ingredients
- 1 cup whole wheat pastry flour
- 1/2 cup all-purpose flour
- 1/2 teaspoon salt
- 1/4 teaspoon baking powder
- 1/2 cup (1 stick) cold unsalted butter, cubed
- 1 cup sharp cheddar cheese, finely shredded
- 1/4 cup cold water
- 1 teaspoon Dijon mustard
- 1/4 teaspoon smoked paprika (for color and flavor)
Instructions
- In a large bowl, whisk together the whole wheat pastry flour, all-purpose flour, salt, and baking powder.
- Cut in the cold butter using a pastry blender or your fingertips until the mixture resembles coarse crumbs.
- Stir in the shredded cheddar cheese until evenly distributed.
- In a small bowl, mix the cold water and Dijon mustard. Gradually add the liquid mixture to the flour mixture, mixing until a shaggy dough forms. Do not overmix.
- Turn the dough out onto a lightly floured surface and gently knead it 2 or 3 times until it just comes together. Flatten into a disk, wrap in plastic wrap, and chill for at least 30 minutes.
- Preheat your oven to 375°F (190°C). Line two baking sheets with parchment paper.
- Divide the dough in half. On a lightly floured surface, roll one half out very thinly, aiming for about 1/16 inch thickness. The thinner you roll, the crispier the crackers will be.
- Use a pizza cutter or a small square cookie cutter to cut the dough into small squares (about 1 inch). Use a toothpick to poke a small hole in the center of each cracker.
- Transfer the crackers to the prepared baking sheets. Sprinkle lightly with a pinch of salt and the smoked paprika.
- Bake for 10 to 14 minutes, rotating the sheets halfway through, until the edges are lightly golden brown and the crackers are crisp.
- Let the baked cheese crackers cool completely on the baking sheets; they will crisp up further as they cool. Store in an airtight container.
Notes
- For a gluten-free cheese crackers recipe, substitute the wheat flours with a 1:1 gluten-free blend that contains xanthan gum.
- If you want a more intense orange color without artificial dyes, add 1/2 teaspoon of turmeric powder with the dry ingredients.
- For a vegan homemade Cheez-Its alternative, replace the butter with solid coconut oil and use nutritional yeast instead of cheddar cheese.
- These homemade savory snacks store well at room temperature for up to one week.
Nutrition
- Serving Size: 12 crackers
- Calories: 145
- Sugar: 0.5
- Sodium: 180
- Fat: 9
- Saturated Fat: 5.5
- Unsaturated Fat: 3.5
- Trans Fat: 0
- Carbohydrates: 13
- Fiber: 1.5
- Protein: 4
- Cholesterol: 22