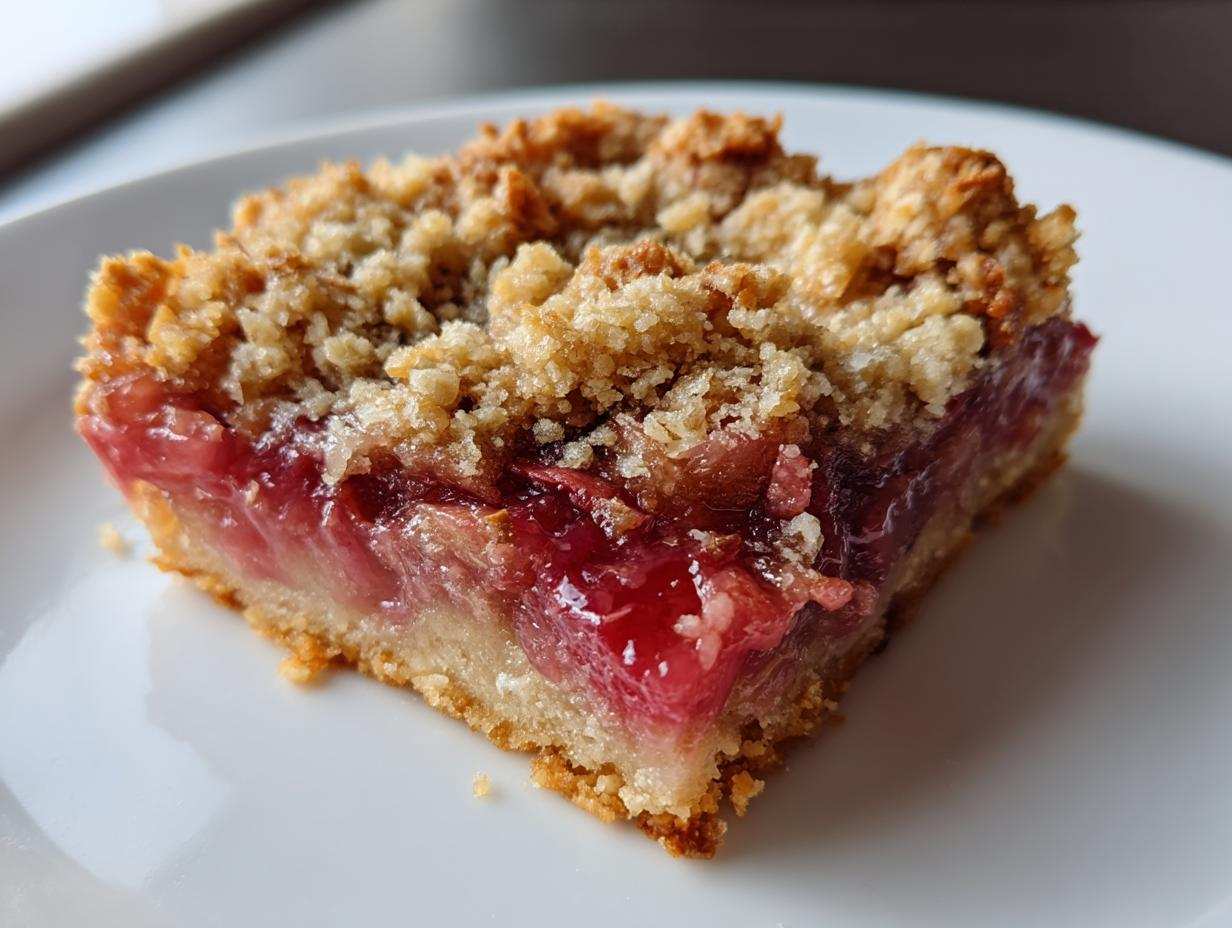

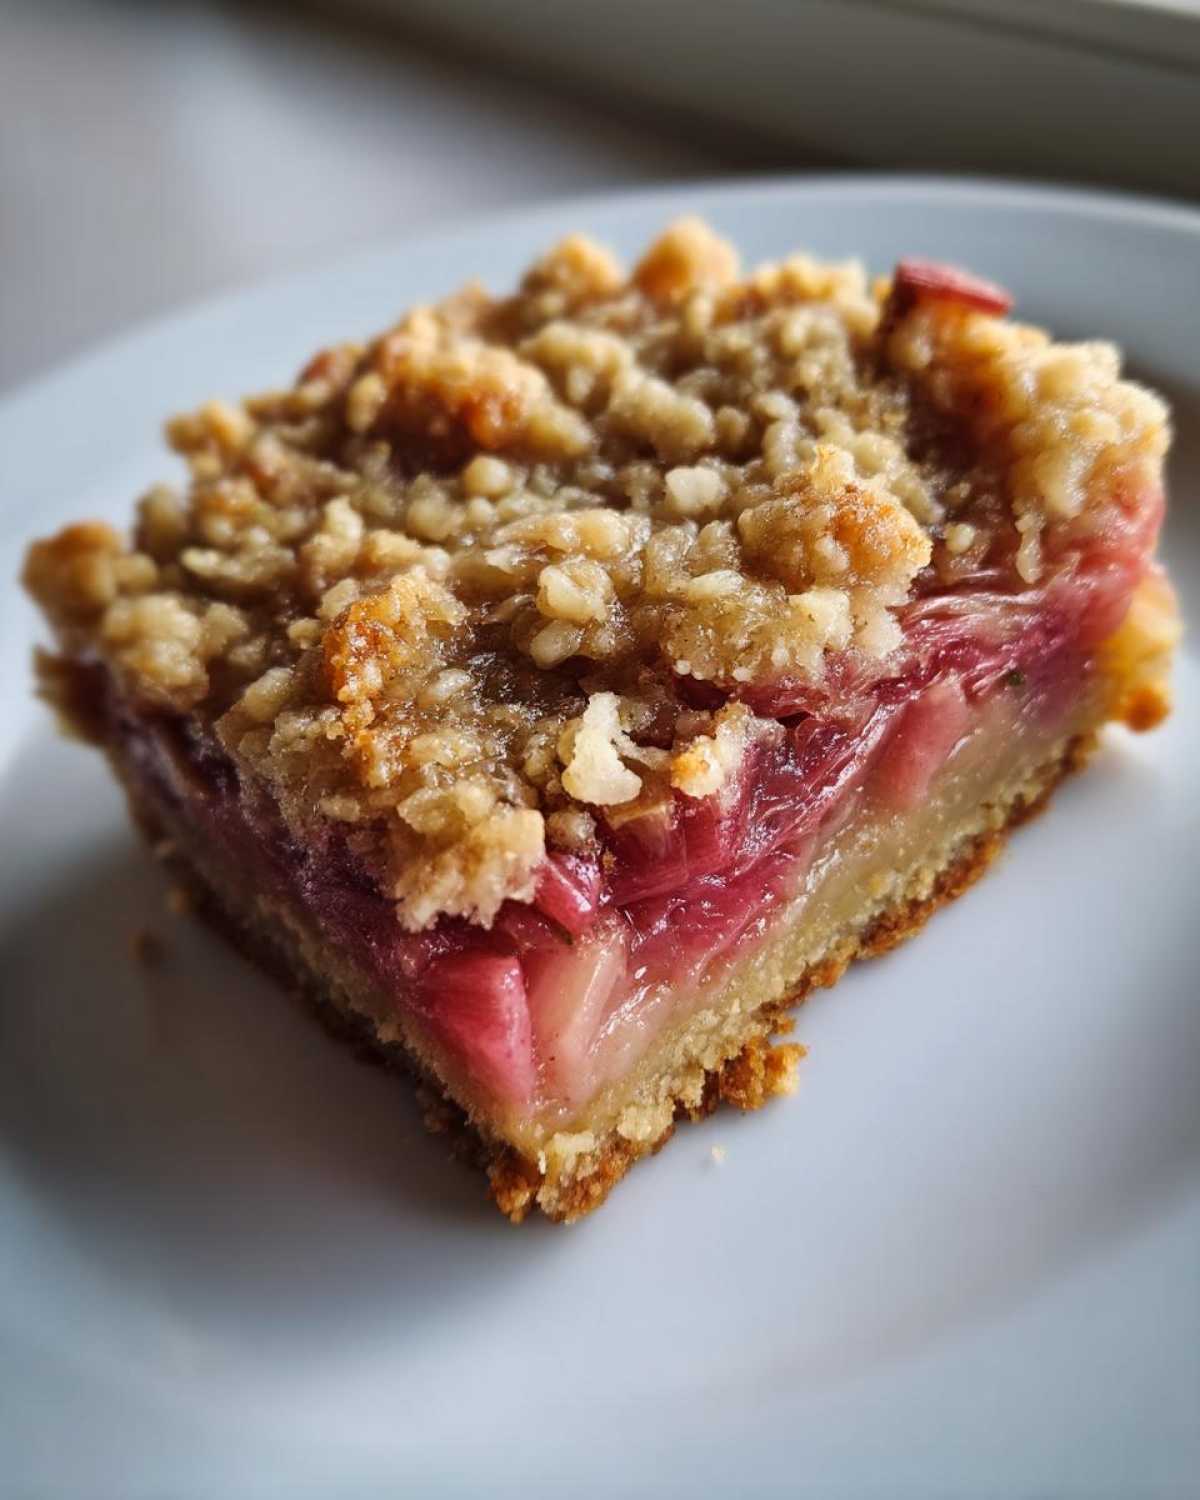
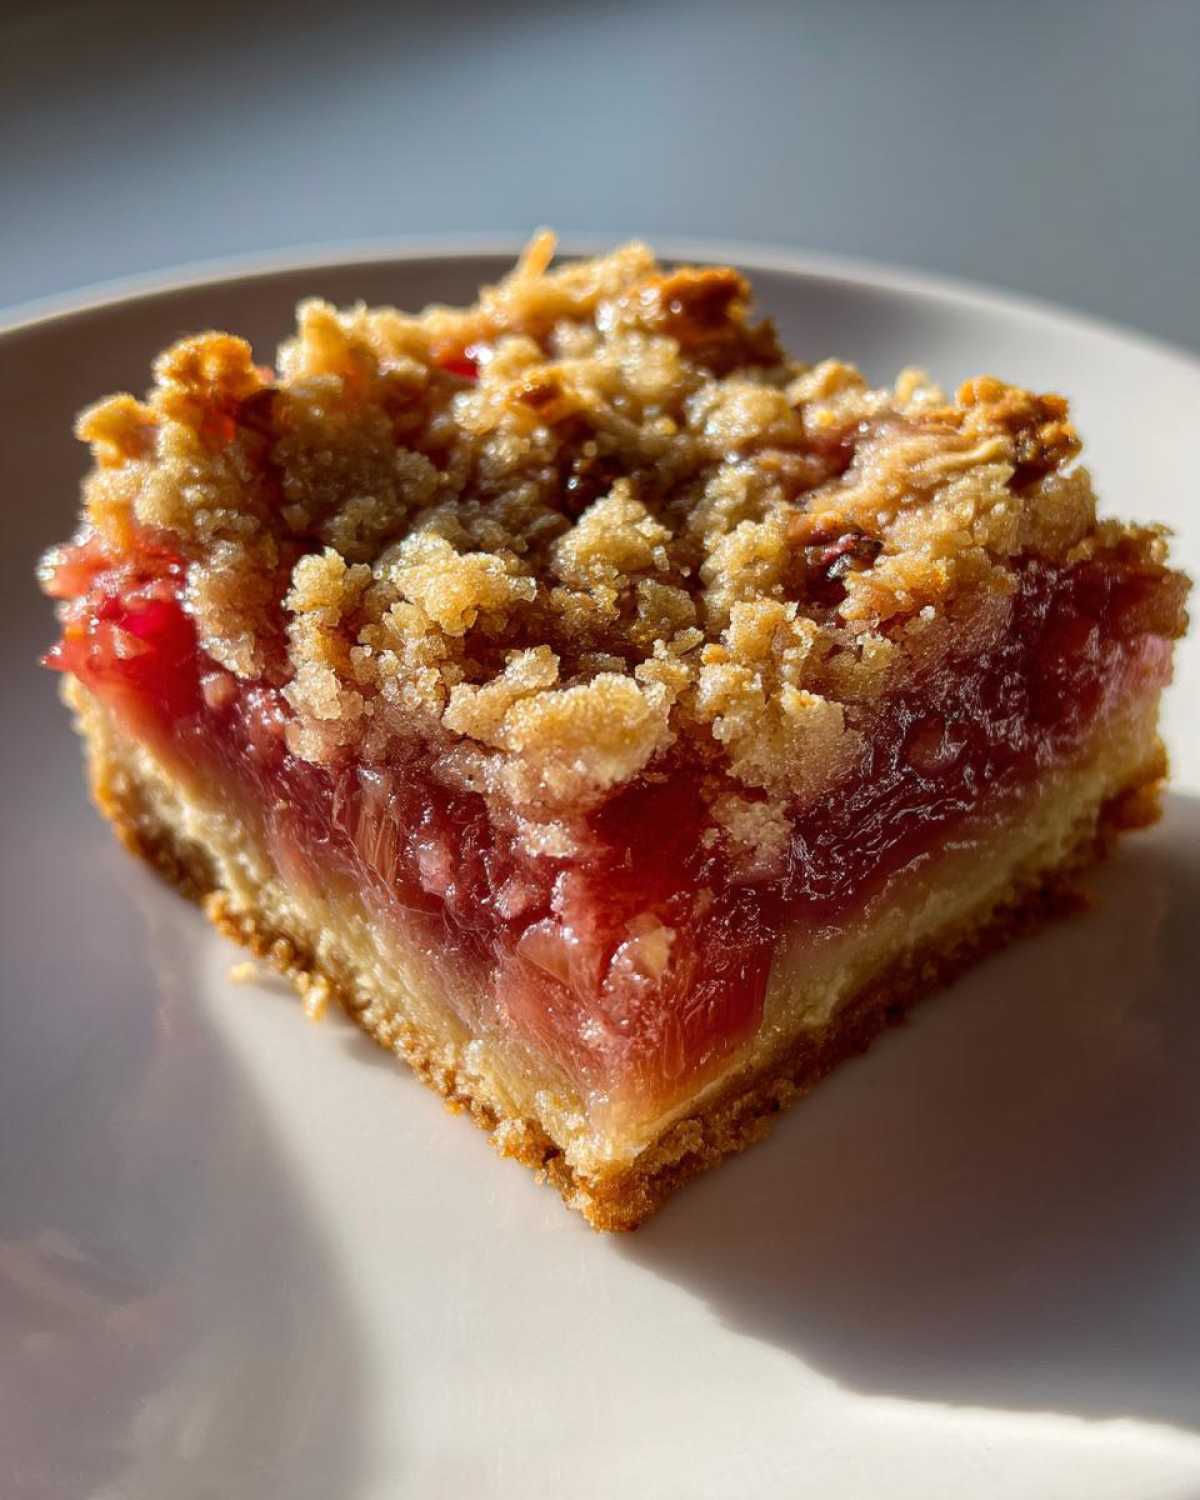
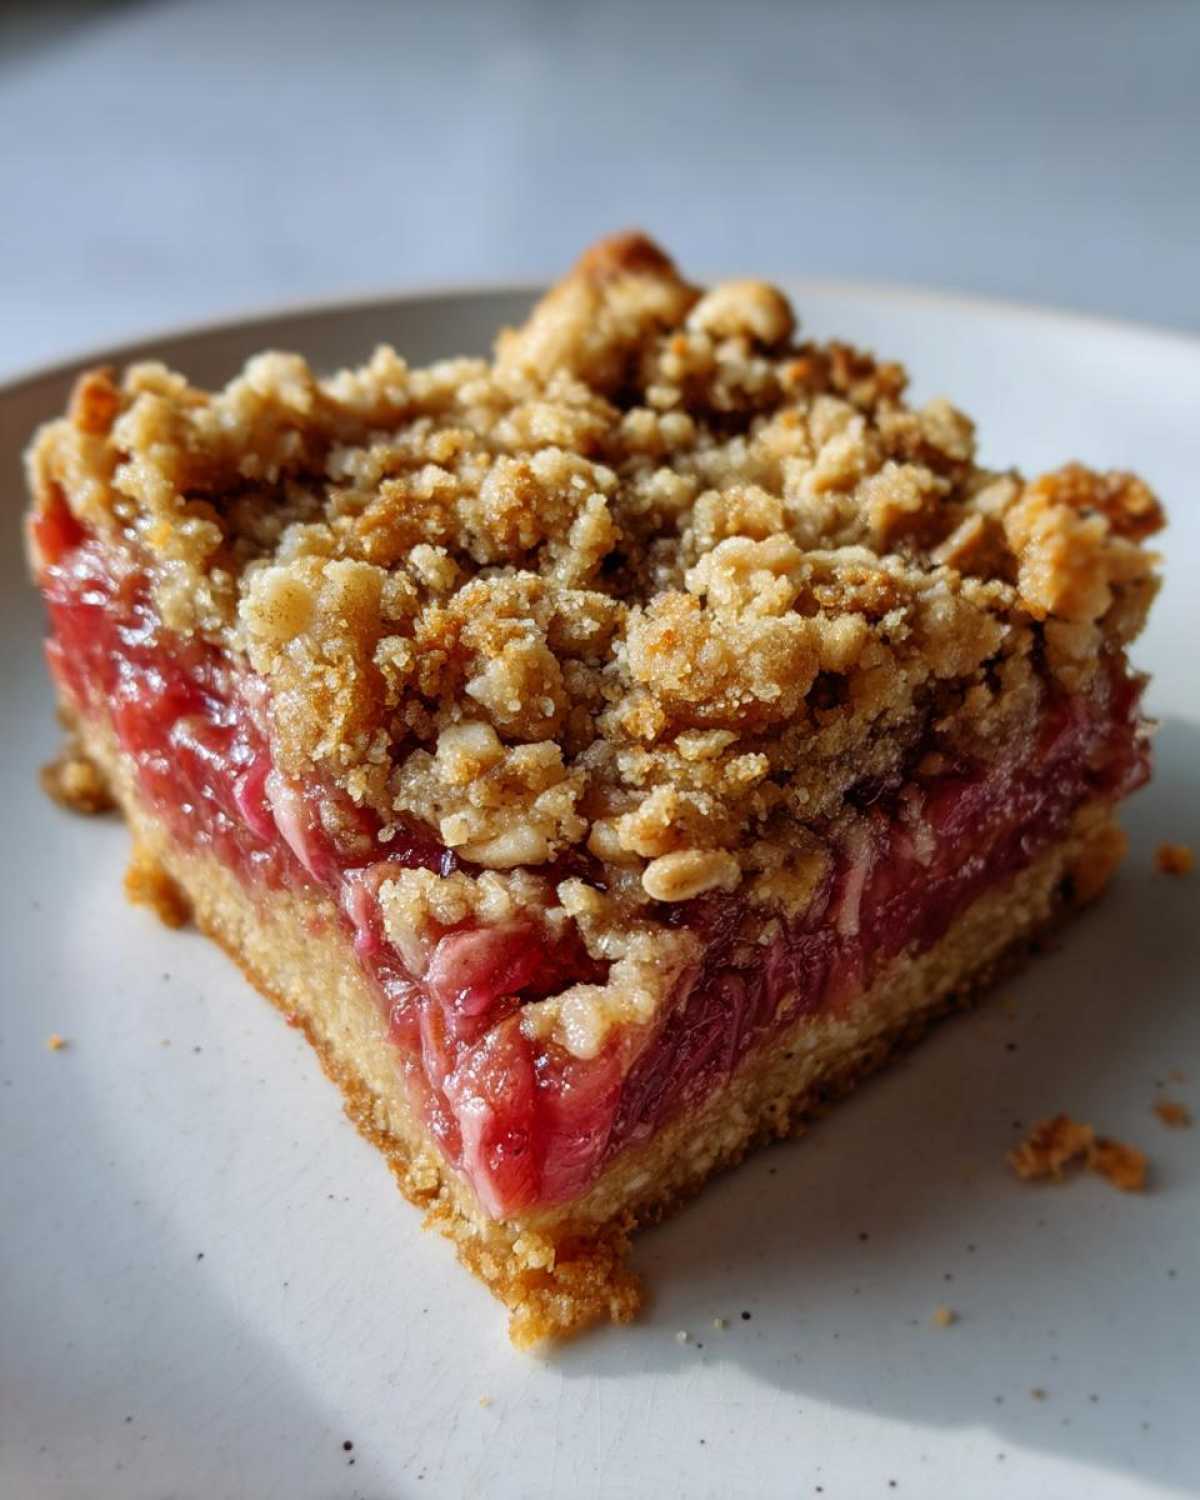
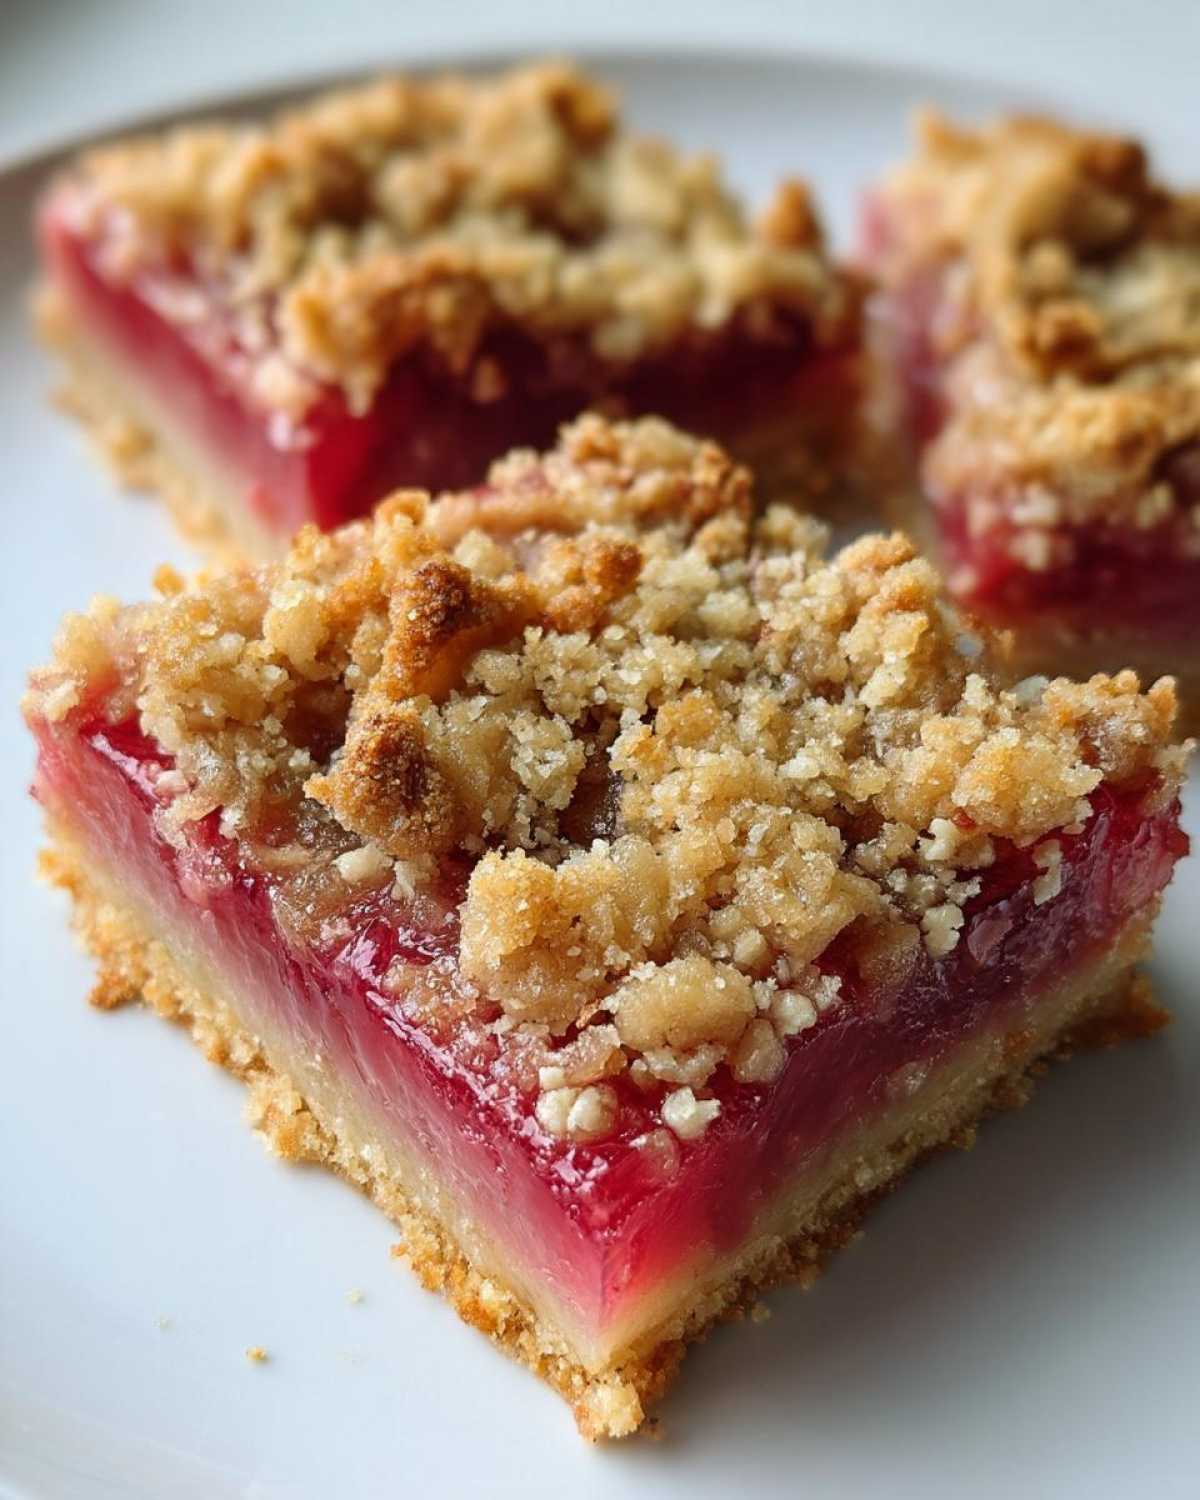
Oh, you’re in for a treat! These Rhubarb Dream Bars are my absolute go-to when I want something sweet, tangy, and just a little bit nostalgic. Picture this: a buttery, crumbly crust, a layer of sweet-tart rhubarb filling that practically melts in your mouth, and a crunchy oat topping that ties it all together. I first fell in love with this recipe when my neighbor brought over a pan—one bite and I was hooked. Now, it’s my secret weapon for potlucks, family gatherings, or just a cozy afternoon with a cup of tea. Trust me, once you try these, you’ll understand why they’re called “dream” bars!
Why You’ll Love These Rhubarb Dream Bars
Let me tell you why these bars are about to become your new favorite dessert. First off, they’re so easy—no fancy techniques, just simple steps anyone can follow. But the best part? That perfect balance of flavors: the buttery crust, the tangy-sweet rhubarb, and that irresistible crumbly topping. Here’s why you’ll keep coming back to this recipe:
- Weekend-worthy but weeknight-easy: Whip them up in under an hour, no stress.
- Crowd-pleaser magic: Perfect for potlucks, picnics, or just treating yourself.
- Texture heaven: Crunchy, creamy, and jammy—all in one bite.
- Spring in every bite: That rhubarb tang? Pure nostalgia.
Seriously, one taste and you’ll be as obsessed as I am!
Ingredients for Rhubarb Dream Bars
Okay, let’s talk ingredients! The magic of these dream bars comes from simple, honest pantry staples – but there are a few little tricks I’ve learned over the years to make them extra special. Here’s everything you’ll need, with my personal notes sprinkled in:
- 1 1/2 cups all-purpose flour – Spoon and level it, don’t scoop! This keeps the crust light.
- 1/2 cup granulated sugar – For that perfect sweetness in the crust.
- 1/2 cup cold butter, cubed – Cold is key here – I pop mine in the freezer for 10 minutes before using.
- 2 cups chopped rhubarb – About 3-4 stalks. Look for vibrant pink stalks – they’re the sweetest!
- 1/2 cup brown sugar – The molasses notes pair beautifully with rhubarb’s tang.
- 2 tbsp cornstarch – Our secret weapon for the perfect jammy filling.
- 1/4 cup water – Just enough to help the rhubarb break down.
- 1 tsp vanilla extract – Pure vanilla makes all the difference.
- 1/2 cup rolled oats – For that dreamy, crumbly topping.
- 1/4 cup chopped nuts (optional) – Walnuts or pecans add great crunch!
See? Nothing fancy – just good ingredients treated right. Now let’s make some magic!
How to Make Rhubarb Dream Bars
Alright, let’s get baking! I promise this is easier than it looks – just follow these simple steps, and you’ll have dreamy rhubarb bars in no time. The key is taking it one layer at a time. Here’s exactly how I do it:
Step 1: Prepare the Crust
First things first – preheat that oven to 350°F (175°C) and grab your 9×9-inch baking pan. I like to line mine with parchment paper with some overhang – makes cleanup a breeze!
Now, the crust: In a medium bowl, whisk together the flour and granulated sugar. Then comes the fun part – cutting in the cold butter. I use a pastry cutter, but two forks work just fine too. You’re looking for a texture like coarse sand with some pea-sized butter bits remaining – that’s what gives the crust its perfect flakiness!
Press this mixture firmly into your prepared pan. I mean it – really press! Use the bottom of a measuring cup to get it nice and even. Pop it in the oven for 15 minutes until it’s just starting to turn golden at the edges. Your kitchen will smell amazing already!
Step 2: Make the Rhubarb Filling
While the crust bakes, let’s make that luscious filling. In a medium saucepan, combine your chopped rhubarb, brown sugar, cornstarch, and water. Turn the heat to medium and stir frequently – you’ll see the magic happen as the rhubarb softens and the mixture thickens into a glossy, jammy consistency (about 5-7 minutes).
When it’s thick enough to coat the back of a spoon, take it off the heat and stir in that glorious vanilla extract. Pro tip: Let it cool for a couple minutes before spreading – it’ll be easier to work with and won’t make your crust soggy.
Step 3: Assemble and Bake
Now the fun part! Spread your rhubarb filling evenly over the warm crust. Then, take the remaining crumb mixture (you did save some, right?) and mix in the oats and nuts if using. Sprinkle this over the rhubarb layer – don’t press it down, we want that beautiful crumbly texture!
Back into the oven it goes for 25-30 minutes. You’ll know it’s done when the topping is golden brown and the filling is bubbling at the edges. Resist the urge to cut in right away – let it cool completely (I know, torture!) so the layers can set properly. Trust me, it’s worth the wait!
Tips for Perfect Rhubarb Dream Bars
After making these bars more times than I can count, I’ve picked up some foolproof tricks to guarantee dream-worthy results every time. First, rhubarb selection is key – if using fresh, choose stalks that are firm and bright pink (they’re naturally sweeter). Frozen works great too – just thaw and drain well to avoid a soggy filling.
My golden rule? Don’t overbake the crust during the first bake – it should be just barely golden at the edges. And when adding the topping, leave some bigger clumps for that perfect crumbly texture. Oh, and always let them cool completely before cutting – I know it’s hard to wait, but this keeps the layers picture-perfect!
Ingredient Substitutions & Variations
One of the best things about these dream bars? They’re super flexible! Here are my favorite ways to mix things up when I’m feeling creative (or just working with what’s in my pantry). First, for a nut-free version, simply skip the nuts or swap in sunflower seeds for crunch. If you’re out of brown sugar, maple syrup or honey works beautifully in the filling – just reduce the water by a tablespoon.
Feeling adventurous? Try adding a handful of strawberries to the rhubarb filling – the combo is heavenly! And for a gluten-free twist, use your favorite 1:1 flour blend. The possibilities are endless – that’s why this recipe never gets old in my kitchen!
Serving & Storing Rhubarb Dream Bars
Here’s the hardest part – waiting! These bars need to cool completely before cutting, about 1-2 hours. I know, the smell is torture, but trust me – rushing this means messy slices. For picture-perfect squares, I use a sharp knife dipped in hot water between cuts.
Leftovers? (As if!) Store them in an airtight container at room temp for up to 3 days, or refrigerate for 5 days. They’re delicious cold, but if you want that just-baked warmth, pop a square in the microwave for 10-15 seconds. Pro tip: Freeze extras between parchment paper – they thaw beautifully for sudden sweet cravings!
Nutritional Information
Here’s the scoop on what’s in these dreamy bars (per serving): about 220 calories, with 9g of that good butter-y fat and 18g of sweet, sweet sugar. They’ve got a little fiber from the oats and rhubarb too! But remember – these numbers are just estimates. Your exact results might dance around a bit depending on your ingredients. That’s the beauty of homemade – every batch tells its own delicious story!
Frequently Asked Questions
I get asked about these dream bars all the time – here are the answers to the questions that pop up most often in my kitchen (and my DMs!):
Can I use frozen rhubarb?
Absolutely! Just thaw it first and drain any excess liquid – I usually pat it dry with paper towels. Frozen works just as well as fresh, which makes this a year-round treat in my house.
How long do they keep?
At room temp, they’re perfect for about 3 days in an airtight container. But honestly? They never last that long around here! For longer storage, freeze them – they’ll keep beautifully for up to 3 months.
My filling is too runny – what went wrong?
Usually means the cornstarch didn’t fully activate. Next time, cook the filling until it thickly coats the back of a spoon (about 2 minutes after it starts bubbling). And don’t skip the cooling step – it helps set everything up perfectly!
Can I make these gluten-free?
You bet! Just swap the all-purpose flour for your favorite 1:1 gluten-free blend. The texture comes out nearly identical – I’ve fooled gluten-loving friends with this trick!
Share Your Rhubarb Dream Bars
I’d love to see your dream bars come to life! Snap a photo of your masterpiece and tag me – I cheer for every single one. Did you add a twist? Have a baking win (or funny fail) to share? Drop a comment below! Your stories make this recipe even sweeter.
Print4-Ingredient Rhubarb Dream Bars That Taste Like Heaven
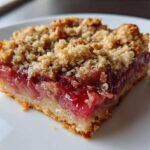
Rhubarb Dream Bars are a delightful dessert featuring a buttery crust, sweet rhubarb filling, and a crumbly topping. Perfect for any occasion, these bars are easy to make and full of flavor.
- Prep Time: 15 minutes
- Cook Time: 40 minutes
- Total Time: 55 minutes
- Yield: 12 bars 1x
- Category: Dessert
- Method: Baking
- Cuisine: American
- Diet: Vegetarian
Ingredients
- 1 1/2 cups all-purpose flour
- 1/2 cup granulated sugar
- 1/2 cup cold butter, cubed
- 2 cups chopped rhubarb
- 1/2 cup brown sugar
- 2 tbsp cornstarch
- 1/4 cup water
- 1 tsp vanilla extract
- 1/2 cup rolled oats
- 1/4 cup chopped nuts (optional)
Instructions
- Preheat oven to 350°F (175°C). Grease a 9×9-inch baking pan.
- In a bowl, mix flour and granulated sugar. Cut in butter until crumbly. Press into the pan to form the crust.
- Bake crust for 15 minutes or until lightly golden.
- In a saucepan, combine rhubarb, brown sugar, cornstarch, and water. Cook over medium heat until thickened. Stir in vanilla.
- Spread rhubarb mixture over the crust.
- Mix oats and nuts (if using) with remaining crumb mixture. Sprinkle over the rhubarb layer.
- Bake for 25-30 minutes or until golden brown. Cool before cutting into bars.
Notes
- Use fresh or frozen rhubarb for best results.
- Store bars in an airtight container for up to 3 days.
- For a nut-free version, omit the nuts or replace with seeds.
Nutrition
- Serving Size: 1 bar
- Calories: 220
- Sugar: 18g
- Sodium: 80mg
- Fat: 9g
- Saturated Fat: 5g
- Unsaturated Fat: 3g
- Trans Fat: 0g
- Carbohydrates: 32g
- Fiber: 2g
- Protein: 3g
- Cholesterol: 20mg
