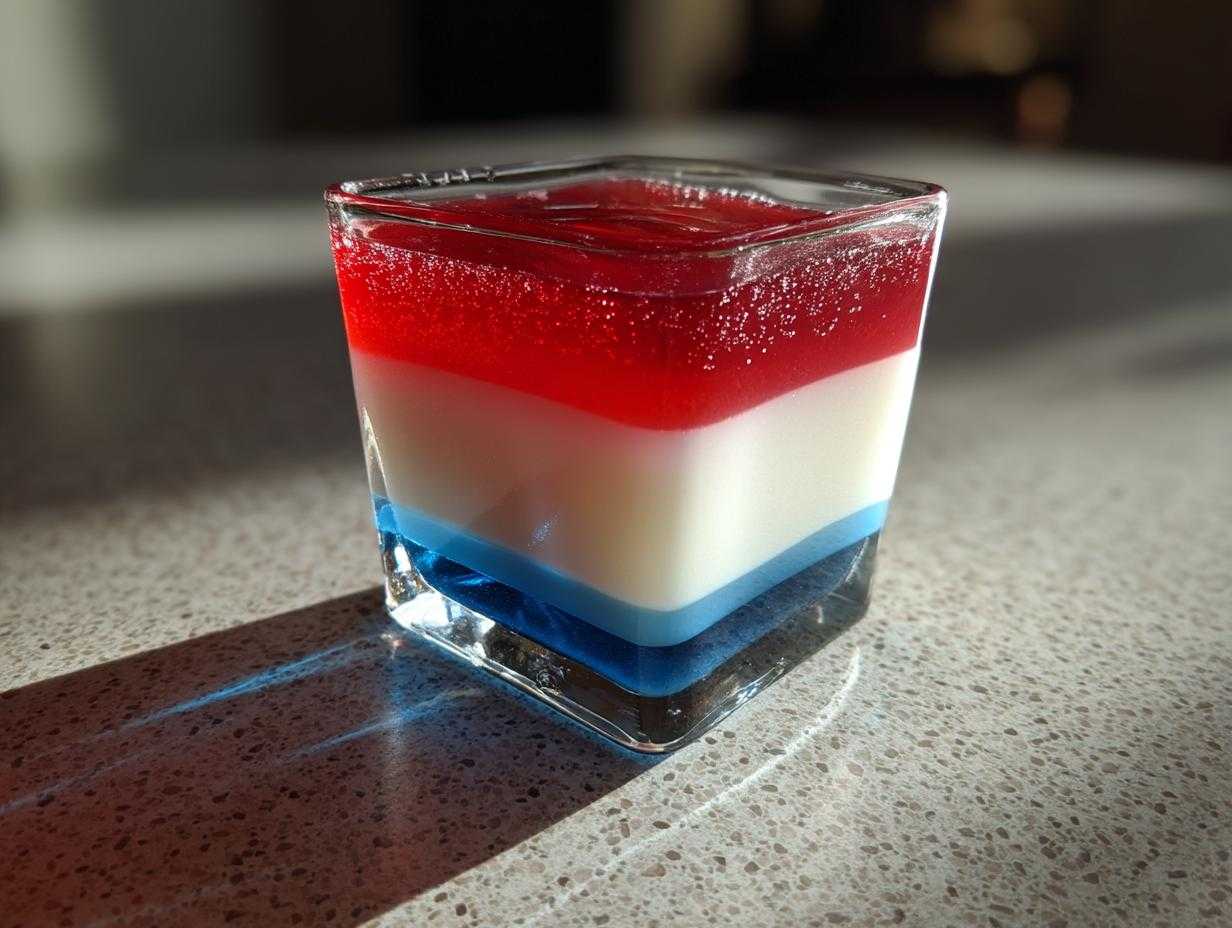

Nothing says “Happy July!” July!” quite like these vibrant Red, White & Blue Layered Jello cups. I still remember my mom pulling these out at our backyard barbecues—kids would go wild for the bright colors, and adults secretly loved them too! The best part? They’re ridiculously easy to make, but look like you spent hours in the kitchen. Just wait until you see those perfect patriotic layers shimmering in the sunlight—trust me, they’ll be the star of any summer spread.
My favorite memory? The year my niece declared them “magic fireworks you can eat” while proudly showing off her blue-stained grin. Whether you’re hosting a big gathering or just want a fun treat for the family, this layered jello dessert delivers all the festive vibes with minimal effort. And don’t worry—no fancy skills required, just a little patience between layers!
- Why You’ll Love This Red, White & Blue Layered Jello
- Ingredients for Red, White & Blue Layered Jello
- Equipment You’ll Need
- How to Make Red, White & Blue Layered Jello
- Tips for Perfect Red, White & Blue Layered Jello
- Variations & Substitutions
- Serving & Storage Suggestions
- Nutritional Information
- Frequently Asked Questions
Why You’ll Love This Red, White & Blue Layered Jello
This isn’t just another Jell-O recipe—it’s pure edible patriotism that’ll have everyone at your table grinning! Here’s why it’s become my go-to summer showstopper:
- Effortless wow factor: Those crisp layers look fancy but couldn’t be simpler—just pour, chill, repeat!
- Kid-approved magic: Little hands love helping layer the colors (and licking the spoons).
- Cool & refreshing: Ice-cold jiggly goodness beats melting ice cream on hot July afternoons.
- Customizable cheer: Swap colors for other holidays—green/white/red for Christmas, pastels for Easter… you get the idea!
The creamy white layer is my secret weapon—it adds just enough richness to balance the fruity flavors. Plus, you can make these ahead, which means less stress when guests arrive!
Ingredients for Red, White & Blue Layered Jello
Gathering your ingredients is half the fun—and don’t worry, everything’s easy to find at any grocery store! Here’s exactly what you’ll need to create those perfect patriotic layers:
- 3 oz package red gelatin (strawberry or cherry work best—go for the boldest color!)
- 3 oz package blue gelatin (I swear by blueberry—it gives that deep “star-spangled” hue)
- 1 envelope unflavored gelatin (this is the magic that makes the white layer hold its shape)
- 1 cup boiling water, divided (you’ll use ½ cup for red, ½ cup for blue—I just heat 1 cup total and split it)
- 1 cup cold water, divided (same deal—½ cup per color layer)
- 1 cup milk or heavy cream (whole milk makes the white layer silky, but heavy cream gives extra richness)
- ¼ cup sugar (trust me, this balances the tartness perfectly)
- 1 tsp vanilla extract (skip the imitation stuff—real vanilla makes all the difference)
Pro tip: Check your gelatin boxes— come come in 3 oz, others in 6 oz. You want the smaller ones! And that “divided” water? Just means you’ll split it between steps—no fancy measuring needed.
Equipment You’ll Need
No fancy gadgets required—just grab these basics from your kitchen:
- Clear cups or molds (I use 8-oz plastic tumblers—the see-through sides show off those gorgeous layers!)
- 2 mixing bowls (one for red, one for blue—or just rinse between colors)
- Measuring cups & spoons (precision matters with gelatin—no eyeballing!)
- Whisk or fork (to banish those pesky gelatin lumps)
That’s it! Though I sometimes cheat with a spouted measuring cup for neater pouring—less drips, more perfect layers.

How to Make Red, White & Blue Layered Jello
Okay, let’s dive into the fun part—building those gorgeous layers! Don’t let the waiting times scare you; this is mostly hands-off time where you can prep other party goodies. Just follow these steps, and you’ll have picture-perfect patriotic jiggles in no time!
Step 1: Prepare the Red Jello Layer
First, grab your red gelatin powder and dump it into a mixing bowl. Pour in ½ cup of boiling water (I microwave mine for about 1 minute—watch for bubbles!) and whisk like crazy until every last speck of powder dissolves. No lumps allowed! Then stir in ½ cup cold water—this helps it cool faster.
Now comes the hard part: patience. Carefully pour the red liquid into your clear cups, filling them about one-third full. Pop them in the fridge and set a timer for at least 1 hour. I know it’s tempting to rush, but if you don’t let this layer set completely, your colors will bleed—and we want crisp stripes, not a patriotic muddle!
Step 2: Create the White Cream Layer
While the red layer chills, let’s make that dreamy white middle. Sprinkle your unflavored gelatin over ¼ cup cold water in a clean bowl and let it sit for 1 minute—it’ll look weird and clumpy, but that’s normal! Pour in ½ cup boiling water and whisk until it turns clear again.
In another bowl, mix your milk, sugar, and vanilla. Slowly pour this into the gelatin mixture while whisking—this prevents curdling. Now, here’s the key: let it cool on the counter for about 10 minutes. If it’s too hot, it’ll melt your red layer! When it’s just slightly warm (test a drop on your wrist—it should feel lukewarm), gently pour over the set red jello. Back in the fridge it goes for another hour!
Step 3: Add the Blue Jello Layer
Repeat the red process with your blue gelatin—½ cup boiling water to dissolve, then ½ cup cold water. Let it cool slightly (about 5 minutes) so it doesn’t shock the white layer. When your white stripe is firm to the touch—no jiggle in the center—slowly pour the blue on top.
Now walk away for a full 2 hours. I know, I know—but this final chill ensures those layers stay distinct when you unmold them. The wait is worth it when you see that first perfect spoonful of red, white, and blue magic!
Tips for Perfect Red, White & Blue Layered Jello
After making these more times than I can count (and yes, learning from a few colorful disasters!), here are my foolproof tricks for flawless layers every time:
- Test the set: Gently press each layer with a clean finger before adding the next should feel should feel firm, not sticky.
- Lighter white layer? Swap whole milk for low-fat or even almond milk—just know it’ll be slightly less creamy.
- No bubbles! Skim any foam off the gelatin mixtures before pouring for crystal-clear layers.
- Speed-chill hack: Place cups in the freezer for 15 minutes between layers if you’re short on time (but don’t forget them there!).
My biggest lesson? Rushing leads to rainbow soup—good things come to those who wait (and chill properly)!
Variations & Substitutions
Don’t have exactly these ingredients? No problem—this recipe is crazy flexible! Here are my favorite twists that still deliver those wow-worthy layers:
- Dairy-free delight: Swap the milk for coconut milk (the canned kind works best) and use agave instead of sugar. The tropical twist is surprisingly delicious!
- Sugar-conscious: Use sugar-free gelatin packets and monk fruit sweetener in the white layer—kids won’t even notice the difference.
- Berry blast: Replace half the cold water in the red/blue layers with pureed raspberries or blueberries for extra fruity punch.
- Adult version: Spike the white layer with a splash of coconut rum—just don’t tell the kids!
The beauty of this recipe? As long as you keep the gelatin ratios right, you can play with flavors and colors to match any theme or dietary need!
Serving & Storage Suggestions
Ready to show off your masterpiece? Here’s how to make these patriotic jiggles shine even brighter:
- Top with flair: A dollop of whipped cream and fresh blueberries/strawberries turns these into edible flags! For extra sparkle, sprinkle with edible gold stars.
- Keep it cool: Serve straight from the fridge—the colder they are, the cleaner those layers will slice.
- Storage smarts: These keep beautifully for 3-4 days covered in the fridge. Just avoid freezing—unless you want patriotic jello soup!
Pro tip: Set them on a tray of crushed ice during outdoor parties—nothing beats that icy-cold jiggle on a hot summer day!

Nutritional Information
Here’s the scoop on what’s in these festive treats—but remember, these are estimates since brands vary! Per serving (about 1 cup):
- 120 calories (mostly from that dreamy white layer)
- 15g sugar (the fruity layers do most of the sweet work)
- 3g protein (thank you, milk and gelatin!)
Psst—using sugar-free gelatin and low-fat milk can cut these numbers nearly in half if you’re watching things. But hey, it’s a holiday—live a little!
Frequently Asked Questions
Can I use different colors for other holidays?
Absolutely! That’s the beauty of this layered jello dessert—swap red for green and blue for yellow to make sunshine-yellow lemon layers for Easter. For Halloween, try orange and purple with a vanilla spiderweb design on the white layer!
How long does patriotic jello keep in the fridge?
These stay fresh for 3-4 days when covered—though in my house, they never last past the first party day! The layers might start weeping a bit after day 3, but they’re still perfectly edible.
Why did my white layer turn out lumpy?
Ah, the dreaded gelatin clumps! Always sprinkle the unflavored gelatin over cold water first (this is called “blooming”) and let it sit for a full minute before adding hot liquid. And whisk like you mean it—no lazy stirring!
Can I make one big mold instead of individual cups?
You bet! Use a 6-cup bundt pan for a showstopper centerpiece. Just triple the chilling times—thicker layers take longer to set. To unmold, dip the pan briefly in warm water and invert onto a plate.
Now I want to see your creations! Tag your patriotic jello cups with #PureCookingJoy so I can ooh and aah over your layered masterpieces!
PrintRed, White & Blue Layered Jello

A fun and festive layered gelatin dessert perfect for patriotic celebrations, featuring vibrant red, creamy white, and deep blue layers.
- Prep Time: 20 minutes
- Cook Time: 0 minutes
- Total Time: 4 hours (including chilling)
- Yield: 6 servings 1x
- Category: Dessert
- Method: No-Bake
- Cuisine: American
- Diet: Low Lactose
Ingredients
- 3 oz package red gelatin (strawberry or cherry)
- 3 oz package blue gelatin (blueberry or raspberry)
- 1 envelope unflavored gelatin
- 1 cup boiling water (divided)
- 1 cup cold water (divided)
- 1 cup milk or heavy cream
- 1/4 cup sugar
- 1 tsp vanilla extract
Instructions
- Dissolve red gelatin in 1/2 cup boiling water. Stir in 1/2 cup cold water. Pour into cups or molds. Refrigerate until set (about 1 hour).
- In a separate bowl, mix unflavored gelatin with 1/4 cup cold water. Let sit for 1 minute. Add 1/2 cup boiling water and stir until dissolved.
- Combine milk, sugar, and vanilla. Gradually whisk into the unflavored gelatin mixture. Cool slightly, then pour over the red layer. Refrigerate until set (about 1 hour).
- Dissolve blue gelatin in 1/2 cup boiling water. Stir in 1/2 cup cold water. Cool slightly, then pour over the white layer. Refrigerate until fully set (about 2 hours).
Notes
- Use clear cups or molds for the best visual effect.
- Chill each layer completely before adding the next one to prevent mixing.
- For a lighter white layer, use low-fat milk.
Nutrition
- Serving Size: 1 cup
- Calories: 120
- Sugar: 15g
- Sodium: 80mg
- Fat: 2g
- Saturated Fat: 1g
- Unsaturated Fat: 0.5g
- Trans Fat: 0g
- Carbohydrates: 24g
- Fiber: 0g
- Protein: 3g
- Cholesterol: 5mg
