
Oh, bread and butter pickles—just saying the name makes me smile! There’s something magical about that perfect balance of sweet and tangy, with just enough crunch to make every bite exciting. I grew up sneaking these from the jar whenever my grandma wasn’t looking, and now I love making them at home. They’re the ultimate sandwich upgrade, burger companion, or even a sneaky snack straight from the fridge. Trust me, once you taste homemade bread and butter pickles, the store-bought stuff just won’t cut it anymore. Plus, they’re so easy to whip up—just a handful of simple ingredients and a little patience while they soak up all that delicious flavor. Let’s get pickling!
- Why You’ll Love This Bread and Butter Pickle Recipe
- Ingredients for Bread and Butter Pickles
- How to Make Bread and Butter Pickles
- Tips for Perfect Bread and Butter Pickles
- Bread and Butter Pickle Variations
- Serving Suggestions for Bread and Butter Pickles
- Storing and Reheating Bread and Butter Pickles
- Bread and Butter Pickle FAQs
- Nutritional Information
- Share Your Bread and Butter Pickle Experience
Why You’ll Love This Bread and Butter Pickle Recipe
Listen, I know you could grab a jar off the shelf, but homemade bread and butter pickles? They’re a whole different world. Here’s why this recipe is my go-to:
- That perfect crunch: Store-bought pickles can get mushy—these stay crisp thanks to the quick brining step.
- Sweet-tangy magic: The balance of vinegar and sugar hits just right, like your favorite diner’s pickles but better.
- No fancy equipment: Just a pot, some jars, and your stovetop—no canning pressure cooker needed!
- Ready in a flash: Unlike fermented pickles, you’re eating these beauties within 24 hours.
- Endless uses: Burgers, tuna salad, cheese boards…or hey, no judgment if you eat them straight from the jar like I do.
Seriously, once you taste that first crisp, sweet-tart slice, you’ll wonder why you ever settled for anything else.
Ingredients for Bread and Butter Pickles
Gather these simple ingredients—you probably have most in your pantry already! The magic happens when they all come together:
- 4 cups thinly sliced cucumbers (about 4 medium cucumbers—I like them sliced just under 1/4″ thick for the perfect crunch)
- 1 large onion, thinly sliced (yellow or sweet onions work best here)
- 1/4 cup kosher salt (this draws out excess moisture—don’t skip it!)
- 1 cup white vinegar (the tangy backbone of our pickling liquid)
- 3/4 cup granulated sugar (adjust up to 1 cup if you like them extra sweet)
- 1/2 cup water (to balance the acidity)
- 1 teaspoon mustard seeds (little pops of flavor)
- 1/2 teaspoon celery seeds (my secret weapon for depth)
- 1/2 teaspoon turmeric (for that classic golden color)
That’s it! No fancy ingredients—just good old-fashioned pickle perfection waiting to happen.

How to Make Bread and Butter Pickles
Okay, let’s turn those crisp cucumbers into irresistible bread and butter pickles! Don’t worry—it’s easier than you think. Just follow these simple steps, and you’ll be snacking on homemade pickles before you know it.
Step 1: Salt the Cucumbers and Onions
First things first—we need to draw out some moisture so our pickles stay nice and crisp. Toss your sliced cucumbers and onions with that 1/4 cup of kosher salt in a big bowl. Let them sit for about an hour—I know, the waiting is tough! You’ll see liquid pooling at the bottom—that’s exactly what we want. After an hour, give them a good rinse under cold water and drain well. Trust me, this step makes all the difference in texture!
Step 2: Prepare the Pickling Liquid
While your cukes are brining, let’s make that magical sweet-tangy liquid. Combine vinegar, sugar, water, mustard seeds, celery seeds, and turmeric in a saucepan. Bring it to a boil over medium heat, stirring until the sugar dissolves completely. Oh, that smell! The turmeric will turn everything a gorgeous golden color—just wait until you see how pretty your pickles look.
Step 3: Combine and Simmer
Now the fun part! Add your drained cucumber and onion mixture to the bubbling pickling liquid. Let everything simmer together for about 5 minutes—just long enough for the flavors to start mingling but not so long that the veggies lose their crunch. Stir gently occasionally to make sure every slice gets coated in that delicious liquid.
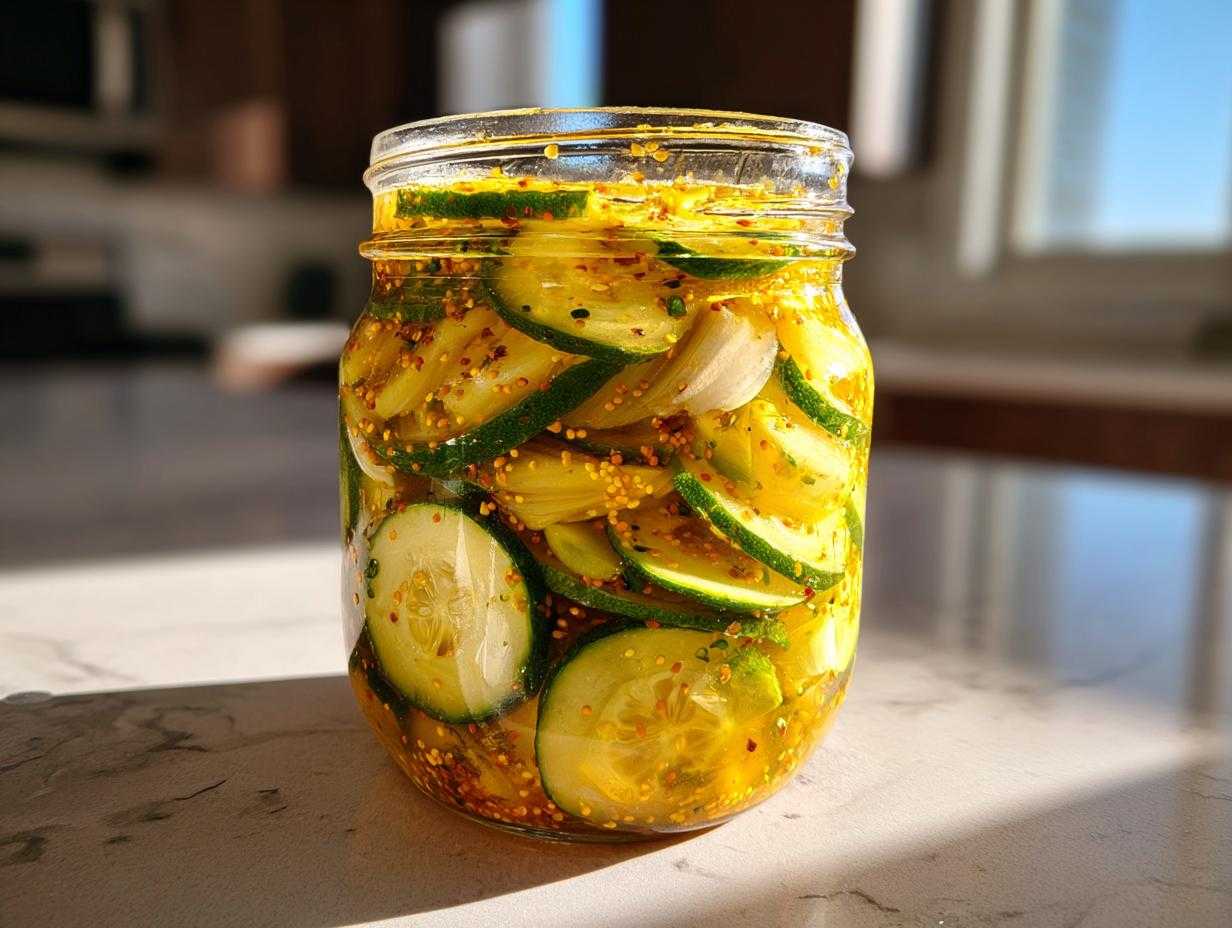
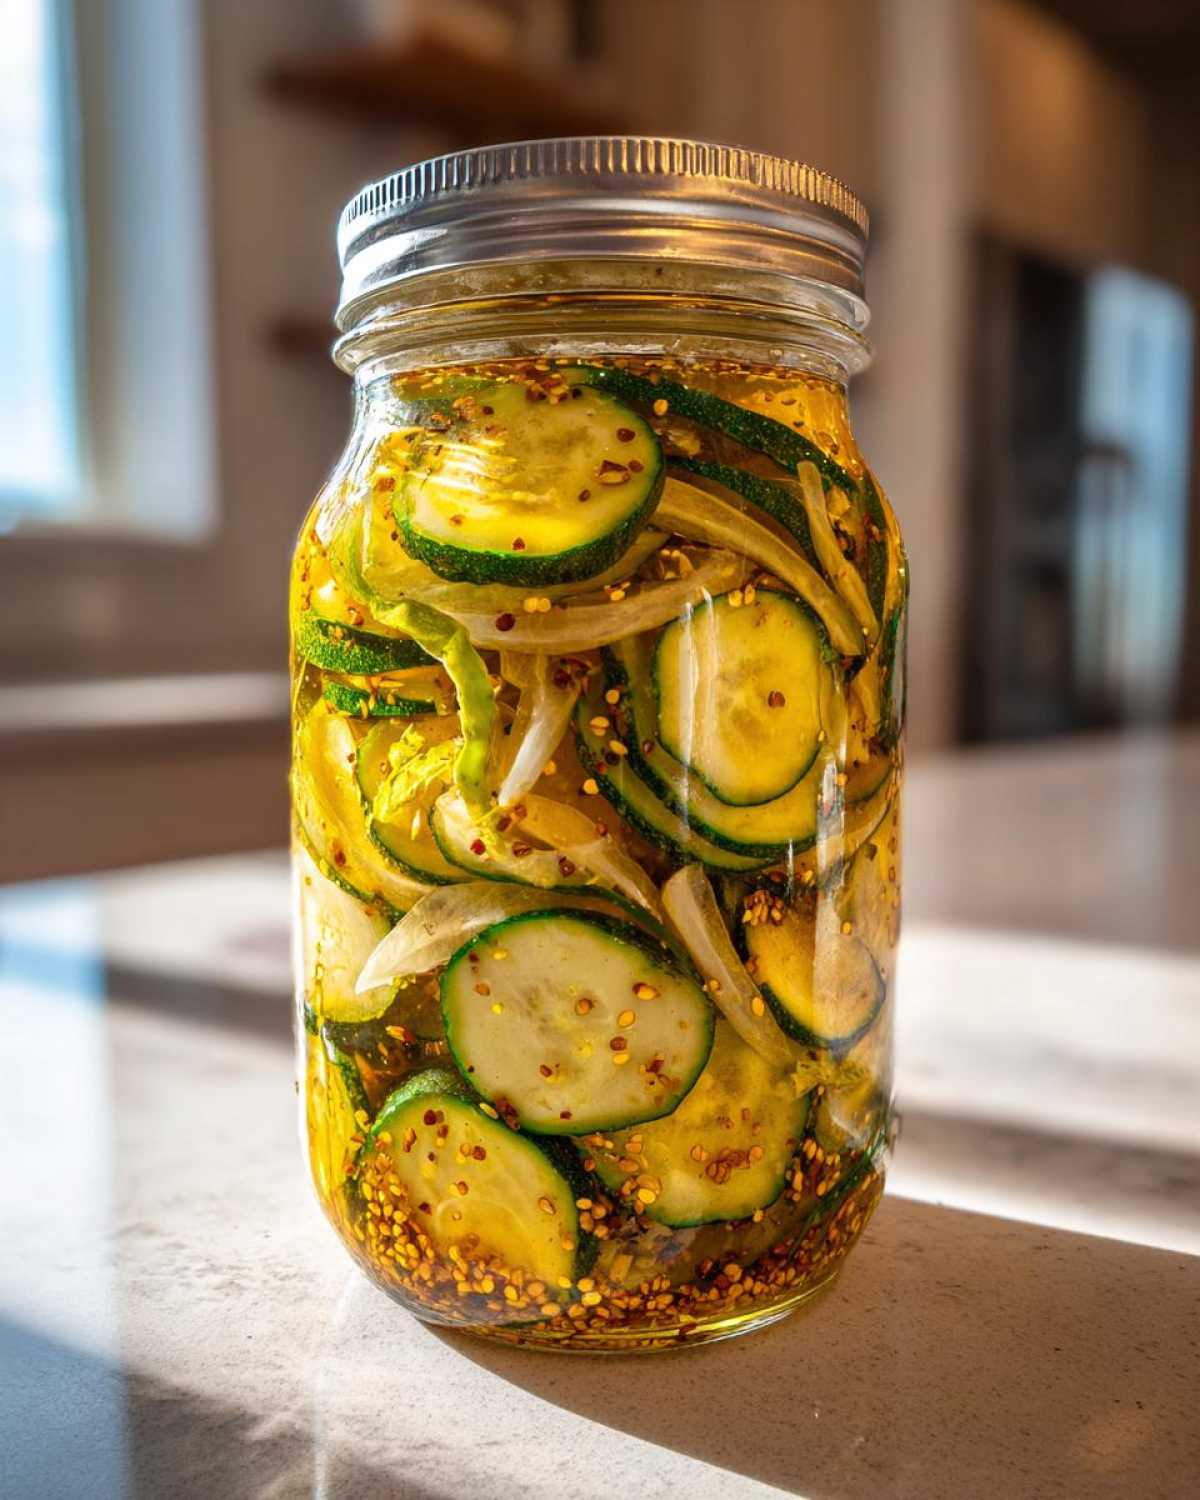
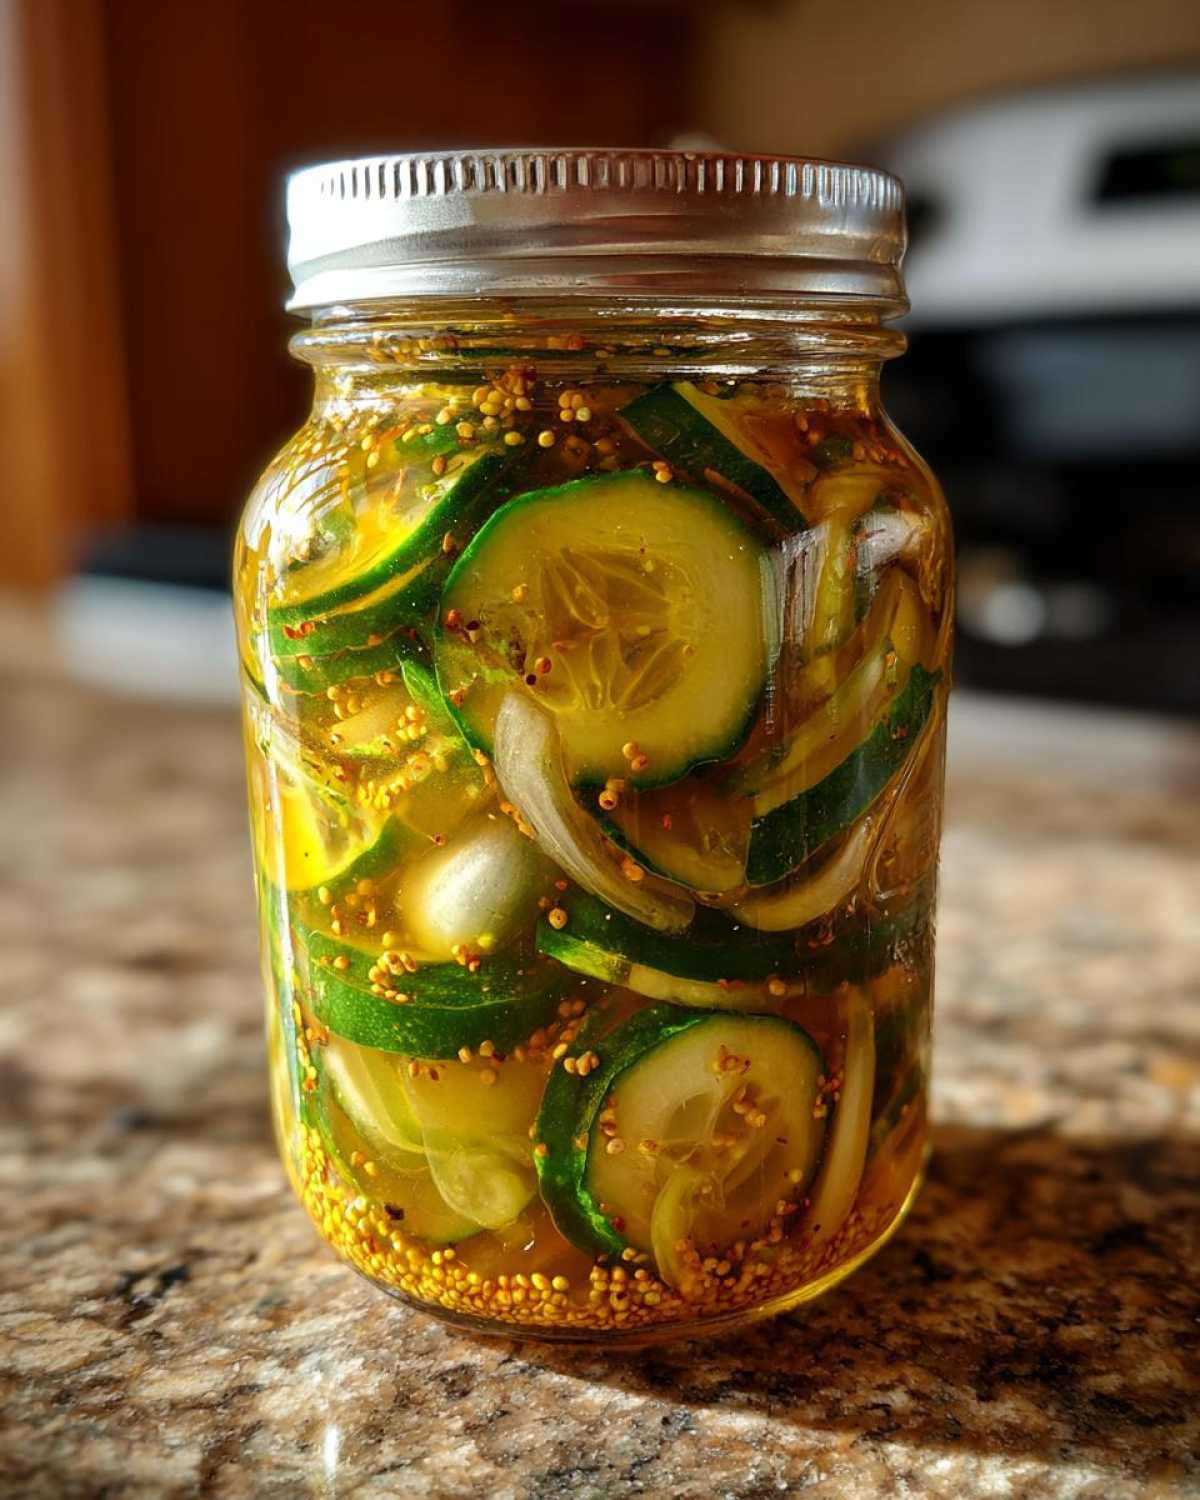
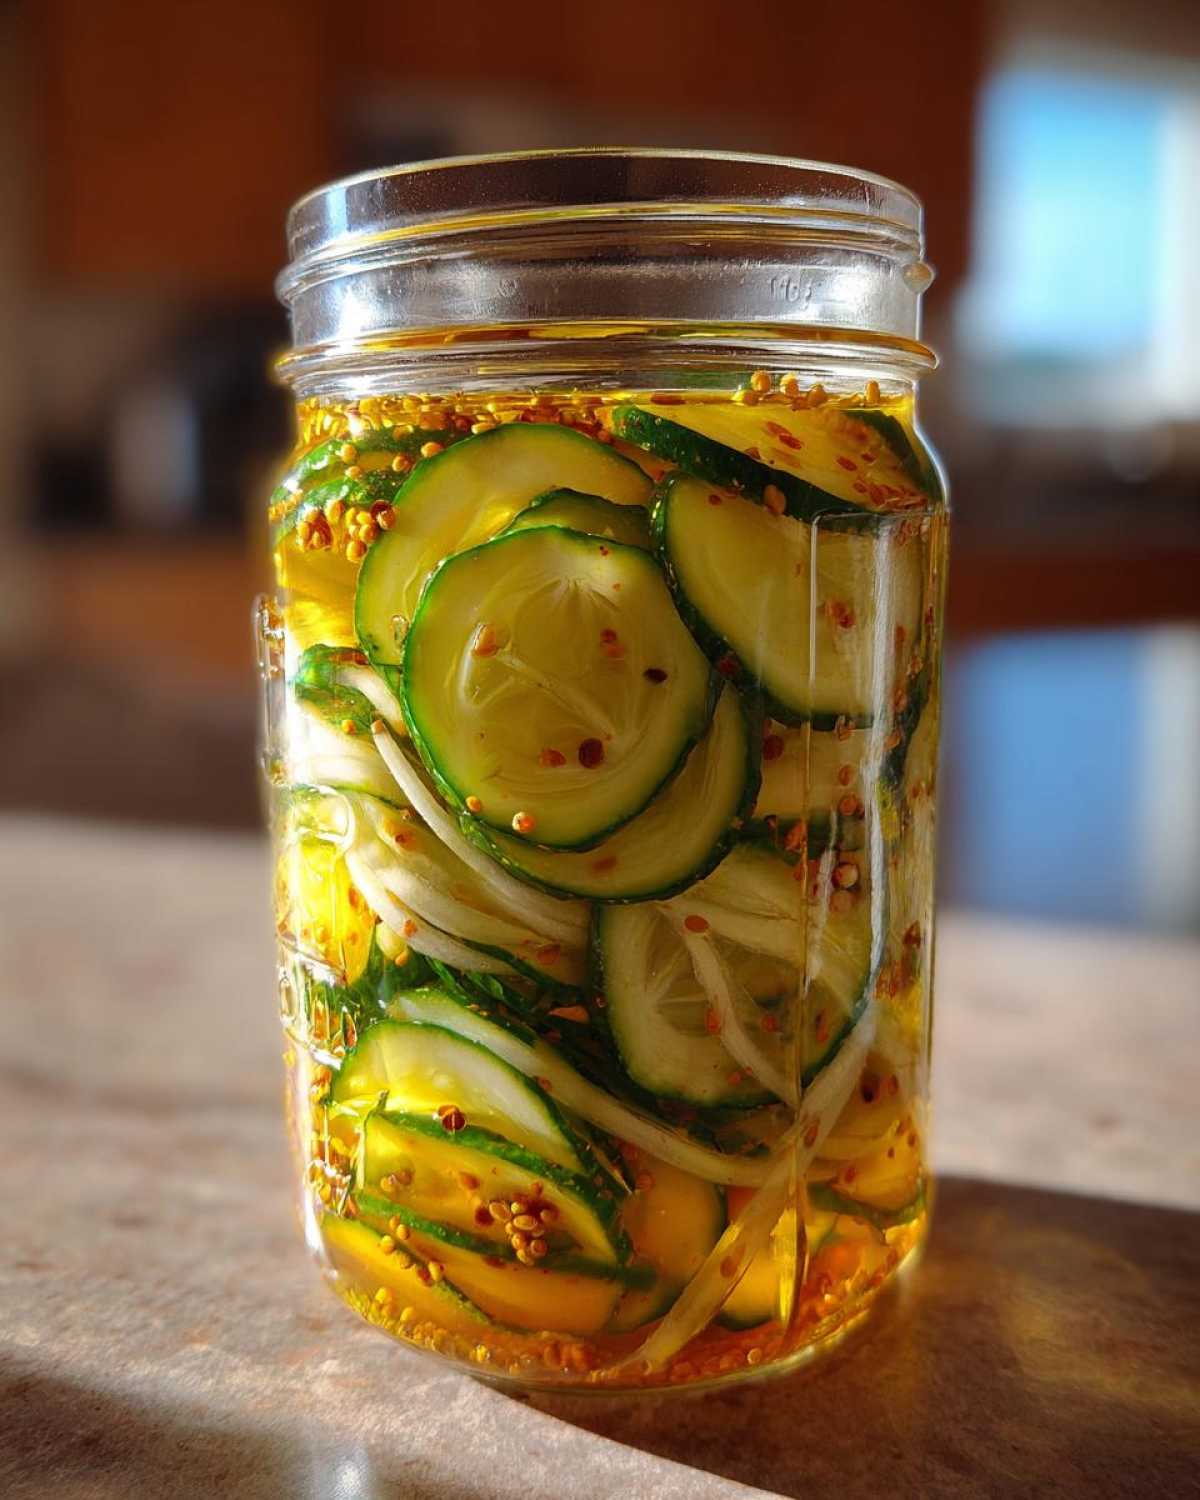
Step 4: Jar and Store
Time to pack up your pickles! Spoon the hot mixture into clean jars (I like to sterilize mine with boiling water first), making sure to cover everything with that flavorful liquid. Seal the jars tightly and let them cool to room temperature before popping them in the fridge. The hardest part? Waiting 24 hours before digging in—but it’s worth it for the flavors to fully develop!
Tips for Perfect Bread and Butter Pickles
After making countless batches of these pickles (and eating way too many straight from the jar), I’ve picked up some tricks that make all the difference:
- Patience pays off: I know it’s tempting, but wait that full 24 hours before tasting—the flavors deepen beautifully overnight.
- Play with sweetness: Start with 3/4 cup sugar, then adjust next time. My aunt swears by 1 cup for extra sweet pickles!
- Keep it crisp: Don’t skip the salting step—it’s what keeps your pickles from turning mushy.
- Jar prep matters: Run your jars under boiling water or through the dishwasher to sterilize—clean jars mean happy pickles.
- Slice consistently: Use a mandoline if you have one—even slices pickle evenly and look gorgeous in the jar.
Oh, and one bonus tip? Always make extra—these disappear faster than you’d think!
Bread and Butter Pickle Variations
Once you’ve mastered the classic recipe, try these fun twists—they’re all winners in my book!
- Spicy kick: Toss in a few red pepper flakes or a sliced jalapeño with the pickling liquid.
- Garlic lovers: Add 2-3 smashed garlic cloves for a savory depth that pairs perfectly with burgers.
- Dill twist: Throw in a tablespoon of fresh dill for a hybrid bread-and-butter/dill pickle situation.
- Apple cider version: Swap half the white vinegar for apple cider vinegar—it adds a fruity note I adore.
The best part? You can taste-test different batches to find your favorite—not that I’ve ever eaten three jars in one sitting… okay, maybe once.
Serving Suggestions for Bread and Butter Pickles
Oh, where don’t these pickles belong? My favorite way is piled high on a juicy burger—that sweet-tangy crunch cuts through the richness perfectly. They’re also sandwich royalty (try them with tuna salad or pulled pork!), and don’t even get me started on how they jazz up a cheese board. Last night? I ate them straight from the jar with a fork—no shame in my pickle game!
Storing and Reheating Bread and Butter Pickles
Pop those jars right in the fridge—no reheating needed! These pickles stay crisp and flavorful for about 2 weeks (if they last that long). The vinegar keeps them fresh, and honestly, they just get better as the days go by. Mine never make it past a week before disappearing!
Bread and Butter Pickle FAQs
I get asked about these pickles all the time—here are the answers to the questions that pop up most often:
Can I can these pickles for shelf storage?
This recipe is designed as refrigerator pickles—they’re not shelf-stable unless properly canned using a water bath method. Honestly? I prefer them fresh from the fridge where they keep that perfect crunch!
How long do homemade bread and butter pickles last?
About 2 weeks in the fridge—if you can resist eating them that long! The vinegar acts as a natural preservative, but they’re best enjoyed within the first week when the crunch is at its peak.
Can I use different types of cucumbers?
Absolutely! While standard cucumbers work great, I love using pickling cucumbers when I can find them—they tend to stay crisper. Just avoid waxed cucumbers (the wax prevents proper pickling).
Why are they called bread and butter pickles?
Fun story! During the Great Depression, these sweet pickles were often served with cheap bread and butter as a meal—the name stuck! Now they’re the perfect pairing for sandwiches and burgers.
Nutritional Information
Just a quick note—these nutritional estimates can vary based on your specific ingredients and brands. Bread and butter pickles are naturally low in fat, but do keep in mind they contain sugar and sodium from the pickling process. As with all good things, enjoy them in moderation (though I won’t judge if you sneak an extra slice or two!).
Share Your Bread and Butter Pickle Experience
Did you make these pickles? I’d love to hear how they turned out! Snap a photo of your jarred beauties or tell me your favorite way to eat them in the comments below. Nothing makes me happier than seeing your pickle creations—tag me if you share on social too!
PrintBread and Butter Pickles

Make sweet and tangy bread and butter pickles at home with this easy recipe. Perfect for sandwiches, burgers, or as a side.
- Prep Time: 1 hour
- Cook Time: 10 minutes
- Total Time: 1 hour 10 minutes
- Yield: 2 pints 1x
- Category: Condiments
- Method: Stovetop
- Cuisine: American
- Diet: Vegetarian
Ingredients
- 4 cups thinly sliced cucumbers
- 1 large onion, thinly sliced
- 1/4 cup kosher salt
- 1 cup white vinegar
- 3/4 cup granulated sugar
- 1/2 cup water
- 1 teaspoon mustard seeds
- 1/2 teaspoon celery seeds
- 1/2 teaspoon turmeric
Instructions
- Combine cucumbers, onion, and salt in a bowl. Let sit for 1 hour, then rinse and drain.
- In a saucepan, combine vinegar, sugar, water, mustard seeds, celery seeds, and turmeric. Bring to a boil.
- Add cucumber and onion mixture to the saucepan. Simmer for 5 minutes.
- Pack pickles into sterilized jars and seal. Store in the refrigerator for up to 2 weeks.
Notes
- For best flavor, let pickles sit for at least 24 hours before serving.
- Adjust sugar to taste for sweeter or tangier pickles.
Nutrition
- Serving Size: 1/4 cup
- Calories: 35
- Sugar: 7g
- Sodium: 290mg
- Fat: 0g
- Saturated Fat: 0g
- Unsaturated Fat: 0g
- Trans Fat: 0g
- Carbohydrates: 8g
- Fiber: 0g
- Protein: 0g
- Cholesterol: 0mg
