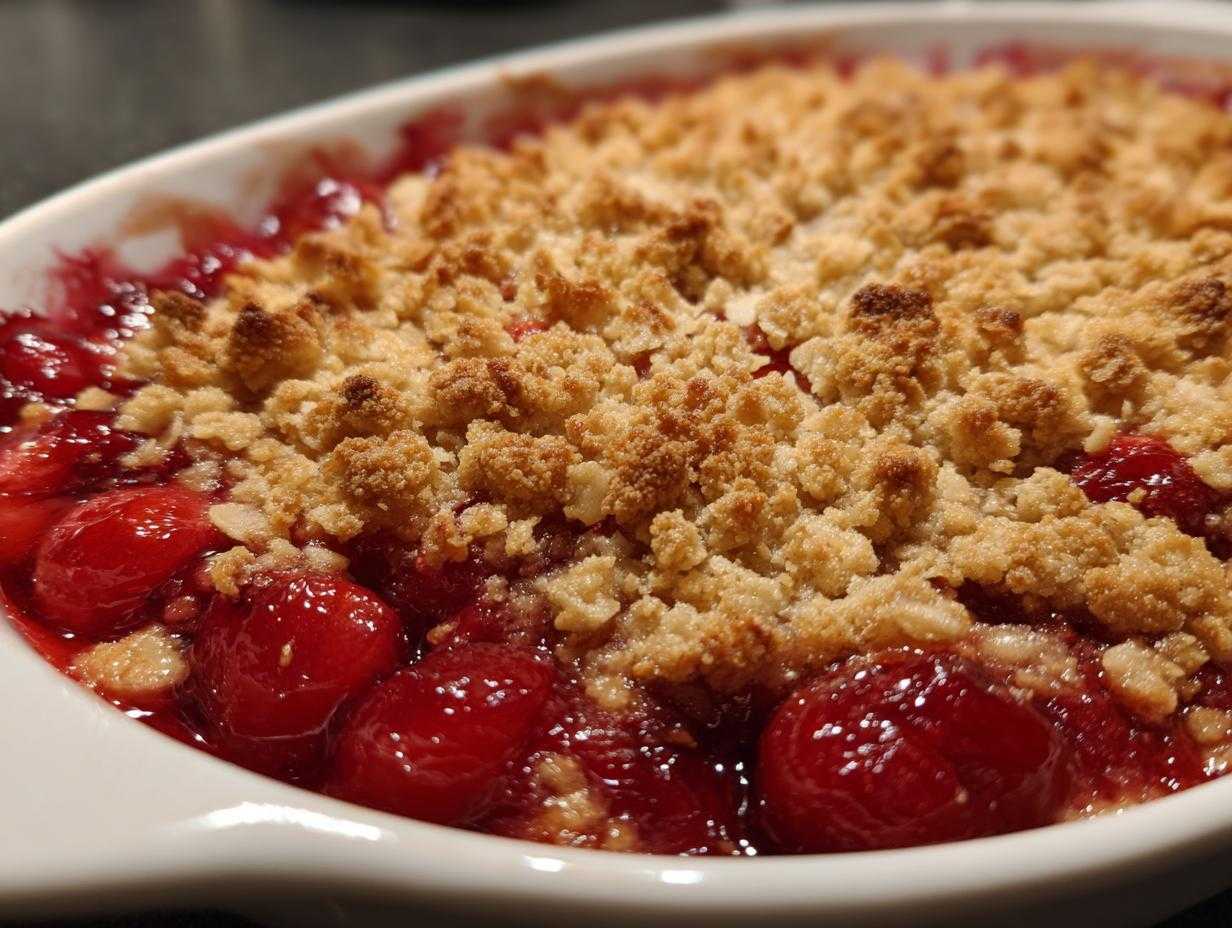

There’s something magical about that first bite of summer—when tart sour cherries hit your tongue and make your lips pucker just enough to know you’re in for something special. My love affair with Sour Cherry Crisp started years ago at a farmer’s market, where I tasted Montmorency cherries for the first time. “Too sour for pie,” the farmer warned me with a wink, but I knew instantly they’d be perfect for baking.
This recipe is my go-to when those ruby-red beauties show up in late June. It’s the kind of dessert that makes people close their eyes and sigh—buttery oat crumble giving way to juicy, tangy cherries that still have enough bite to keep things interesting. The best part? It comes together faster than you can preheat the oven. No fancy techniques, no fussy ingredients—just pure, simple joy in a baking dish.
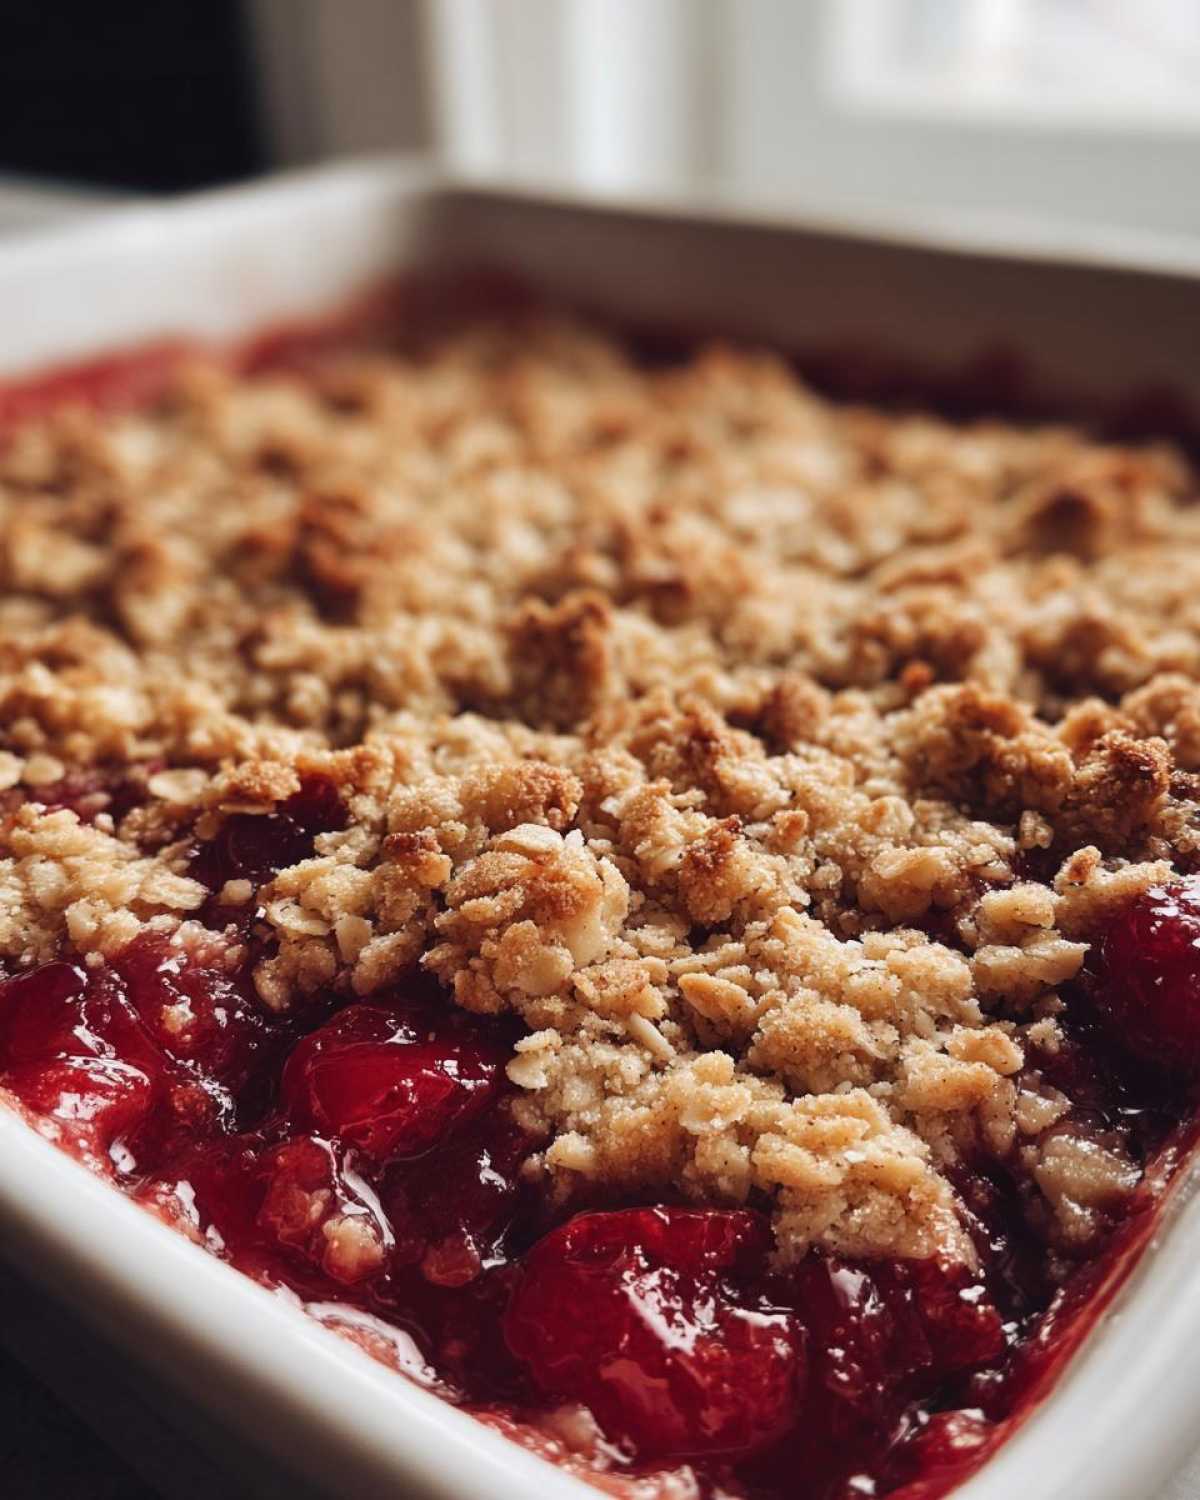
What makes this crisp truly special is how it balances flavors. The cherries stay bright and lively, while the brown sugar and cinnamon in the topping round out their sharp edges. It’s summer captured in dessert form—warm from the oven with vanilla ice cream melting into all those bubbling crevices. Trust me, once you try this version, you’ll understand why I make it every year until cherry season ends.
- Why You’ll Love This Sour Cherry Crisp
- Ingredients for Sour Cherry Crisp
- Equipment You’ll Need
- How to Make Sour Cherry Crisp
- Tips for the Perfect Sour Cherry Crisp
- Serving Suggestions for Sour Cherry Crisp</h
- Storage and Reheating Instructions
- Sour Cherry Crisp Variations
- Nutritional Information
- Frequently Asked Questions
- Share Your Sour Cherry Crisp Experience
Why You’ll Love This Sour Cherry Crisp
This crisp isn’t just another dessert—it’s the one you’ll crave when summer cherries hit their peak. Here’s why it’s become my absolute favorite:
- Effortless magic: Throw it together in 15 minutes flat—no mixer, no fancy skills needed. Just toss, crumble, and bake.
- Tart meets sweet: Those sour cherries shine through, but the brown sugar and cinnamon topping keeps them from being too puckery. It’s that perfect balance that makes you go back for “just one more bite.”
- Crowd-pleaser: Served warm with melting vanilla ice cream? Instant standing ovation. I’ve yet to meet anyone who doesn’t scrape their bowl clean.
- Summer in a dish: That ruby-red filling bubbling through golden crumbs tastes like sunshine and picnic blankets. Pure nostalgia.
Honestly? The hardest part is waiting for it to cool enough so you don’t burn your tongue.
Ingredients for Sour Cherry Crisp
Gathering these simple ingredients is half the joy—each one plays a special role in creating that perfect crisp we love. I always pull everything out first because, let’s be honest, nobody wants to realize they’re out of butter mid-recipe!
For the Cherry Filling:
- 4 cups sour cherries, pitted (fresh or frozen—I grab extra when they’re in season and freeze them for winter cravings)
- 1/2 cup granulated sugar (adjust up to 3/4 cup if your cherries are extra tart)
- 1 tablespoon lemon juice (freshly squeezed—it brightens everything up)
For the Crisp Topping:
- 1 cup old-fashioned rolled oats (not quick oats—we want that hearty texture)
- 1/2 cup all-purpose flour (spooned and leveled, not packed)
- 1/2 cup packed brown sugar (dark brown gives the best molasses flavor)
- 1/2 teaspoon cinnamon (my secret—just enough warmth without overpower cherries)</ cherries)
- 1/4 teaspoon salt (balances all that sweetness)
- 1/2 cup cold unsalted butter, cubed (straight from the fridge—this makes the topping crisp up beautifully)
A quick note about those cherries: if you’re using frozen, no need to thaw them first. Just toss them in with the sugar while they’re still icy—they’ll thaw as they bake and release all that gorgeous juice.
Equipment You’ll Need
You won’t need anything fancy here—just the basics from your kitchen. Grab a trusty 9×9-inch baking dish (or something similar—no need to measure precisely). Two mixing bowls (one for cherries, one for topping), a pastry cutter or fork for crumbling that butter, and a wooden spoon for stirring. That’s it! No special gadgets required—just good old-fashioned tools.
How to Make Sour Cherry Crisp
Okay, let’s get baking! This is where the magic happens—turning those simple ingredients into a bubbling, golden masterpiece. Don’t worry if you’re new to crisps; I’ll walk you through each step like I’m right there in your kitchen with you.
Step 1: Prepare the Cherry Filling
First things first—preheat that oven to 375°F (190°C). While it’s warming up, let’s tackle the cherries. If you’re using fresh ones, pit them carefully (I use a cherry pitter, but a chopstick works in a pinch). Toss those ruby beauties with granulated sugar and lemon juice right in your baking dish—no extra bowl to wash! The sugar will start drawing out their juices immediately.
Here’s my trick: taste a cherry before adding all the sugar. If it makes your eyes water, go ahead and add the full 1/2 cup. If it’s just pleasantly tart, you might only need 1/3 cup. Trust your tastebuds—this is how you make it perfect for you.
Step 2: Make the Crisp Topping
Now for the best part—the crumble! In a mixing bowl, whisk together oats, flour, brown sugar, cinnamon, and salt. Then grab that cold butter—I mean cold, straight-from-the-fridge cubes. Use a pastry cutter or two forks to work the butter into the dry ingredients. You’ll know it’s ready when the mixture looks like uneven pebbles—some bits the size of peas, others like coarse sand. Those bigger butter pieces? They’ll melt into delicious little pools of flavor.
Don’t overmix! We want texture, not paste. If your hands get warm, pop the bowl in the fridge for 5 minutes—cold butter equals flaky topping.
Step 3: Assemble and Bake
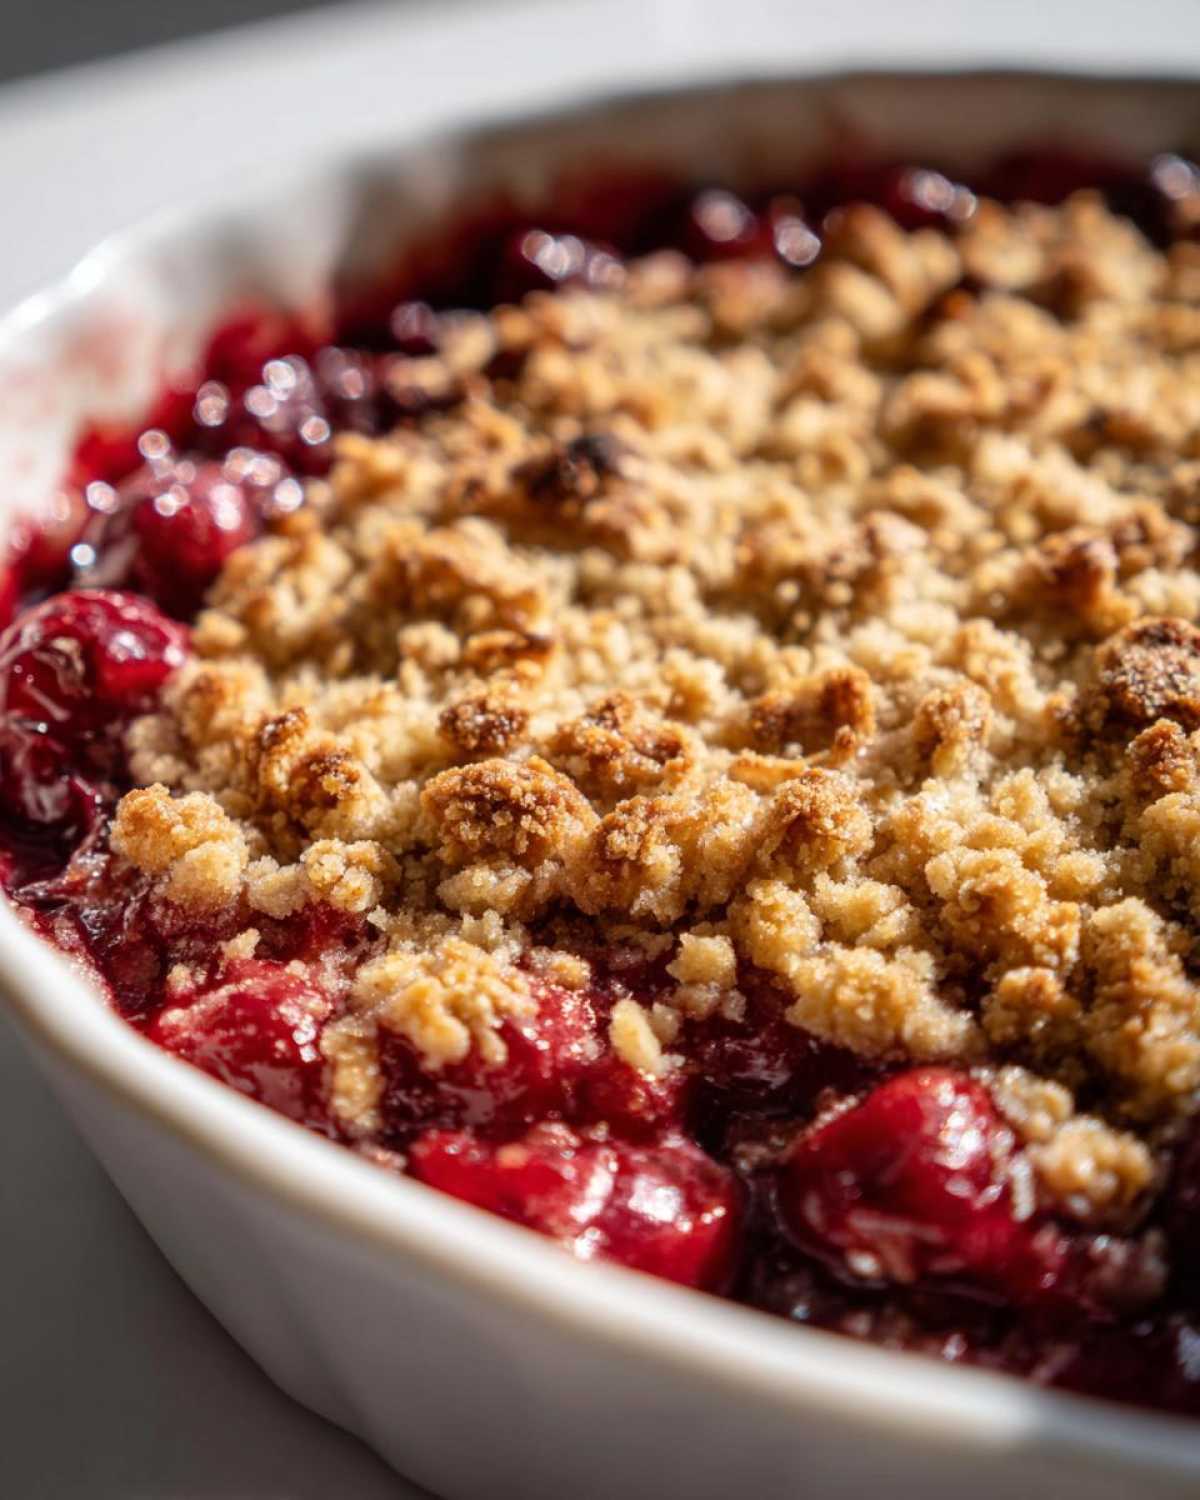
Sprinkle that glorious crumble over your cherries like you’re frosting a cake—don’t pack it down, just let it fall where it may. Slide it into the oven and resist opening the door for at least 25 minutes (I know, it’s hard!). You’re waiting for two things: the topping should be golden brown (no pale spots!), and the cherry juices should be bubbling up around the edges like little lava vents.
When it’s done, let it rest for at least 10 minutes—those juices need time to thicken up. I know, I know… but trust me, it’s worth the wait. That first spoonful of warm crisp with cold ice cream? Pure summer heaven.
Tips for the Perfect Sour Cherry Crisp
After making this crisp more times than I can count, I’ve picked up a few tricks that take it from good to “Oh my goodness, what is this?” levels of amazing:
- Butter matters: Keep it ice-cold! Warm butter makes a greasy topping, while chilled butter creates those irresistible crispy flakes.
- Pit like a pro: If you’re using fresh cherries, wear an apron—those juices stain! I keep a bowl for pits nearby so I’m not running to the trash every two seconds.
- Flavor boost: A splash of almond extract in the filling (about 1/4 tsp) makes the cherries taste even more vibrant—like cherry pie’s sophisticated cousin.
- Texture trick: For extra crunch, add 2 tbsp chopped pecans or walnuts to the topping. They toast up beautifully in the oven.
My biggest tip? Let it cool just enough so you don’t burn your tongue—but not so much that the ice cream won’t melt into those cherry juices!
Serving Suggestions for Sour Cherry Crisp</h
Oh, the possibilities! This crisp practically begs for a scoop of vanilla ice cream melting into its warm crevices—the cold cream against tart cherries is pure magic. If you’re feeling fancy, whipped cream with a hint of almond extract makes a dreamy topping too. Serve it warm (not scalding!) so those juices flow beautifully, or at room temperature when you want that crumble to stay extra crisp. Either way, grab spoons—this dessert disappears fast!
Storage and Reheating Instructions
Leftovers? Ha! But if you somehow manage to have some, here’s how to keep that crisp tasting fresh: Cover it tightly and refrigerate for up to 3 days. To reheat, I prefer the oven (350°F for 10 minutes)—it brings back that perfect crispiness. The microwave works in a pinch (30-second bursts), but expect a softer topping. Pro tip: Sprinkle a few fresh oats on top before reheating for extra crunch!
Sour Cherry Crisp Variations
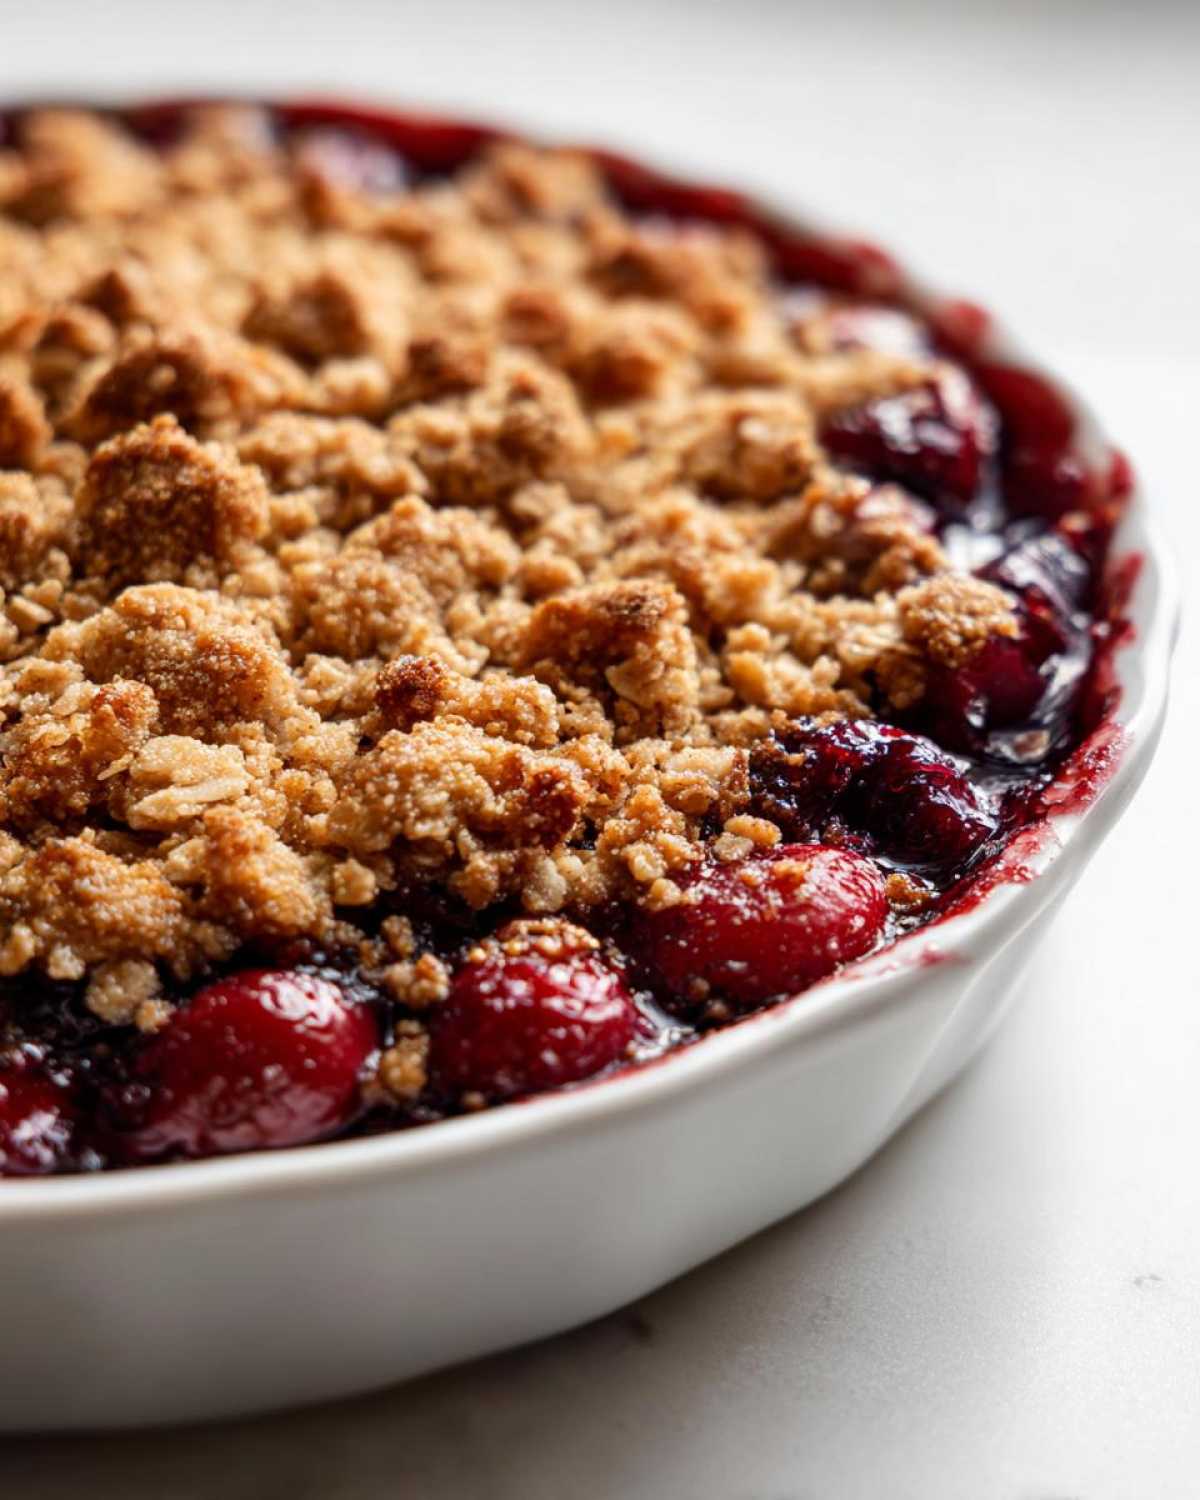
Once you’ve mastered the classic, try these fun twists to keep things exciting! My favorite? Adding 1/4 cup sliced almonds to the topping—they toast up beautifully and add this incredible crunch. If you’re feeling adventurous, swap half the cherries for a bit a bit a bit a bit a bit a bit). Frozen raspberries mixed in create gorgeous streaks of pink, while a dash of cardamom in the topping gives it this warm, exotic vibe. And for my chocolate-loving friends? Sprinkle dark chocolate chips over the hot crisp right when it comes out of the oven—they’ll melt into pools of heaven. The possibilities are endless!
Nutritional Information
Now, I know what you’re thinking—who cares about nutrition when there’s warm cherry crisp involved? But just in case you’re curious (or need to justify that second helping), here’s the scoop. Keep in mind these numbers can vary based on your specific ingredients and brands.
Each generous serving comes in around 320 calories, with 12g of fat from all that glorious butter. The brown sugar and oats give it about 52g of carbohydrates per serving—but hey, fruit totally counts as healthy, right? You’re also getting a nice little 3g of fiber from those whole oats and cherries.
My philosophy? Life’s too short to stress over dessert nutrition. Just enjoy every bite of that golden crumble and tart cherry goodness—you can always have a salad tomorrow!
Frequently Asked Questions
Over the years, I’ve gotten so many questions about this crisp—here are the ones that pop up most often! If you’ve got a burning question that isn’t answered here, just holler in the comments.
Can I use frozen cherries?
Absolutely! Frozen sour cherries work beautifully—just toss them in frozen (no need to thaw) and maybe add an extra tablespoon of flour to the filling if they seem extra juicy. I always stock up during cherry season and freeze them for year-round crisp emergencies.
How do I pit sour cherries without making a mess?
Oh boy, do I have stories about cherry-stained shirts! My favorite method is using a simple cherry pitter—it’s a game-changer. No pitter? A sturdy straw or chopstick works too. Just push through the stem end to pop the pit out the other side. Pro tip: Do this over a bowl to catch all that precious juice!
Can I make this gluten-free?
You bet! Swap the all-purpose flour for your favorite gluten-free blend (I like almond flour for extra flavor). Just make sure your oats are certified gluten-free—some brands process them in facilities with wheat.
Why is my topping soggy?
This usually happens if the butter was too soft when mixing. Next time, keep that butter ice-cold and don’t overmix—you want visible butter chunks. Also, let the crisp rest for at least 10 minutes after baking so the juices thicken up.
Share Your Sour Cherry Crisp Experience
I’d love to hear how your crisp turns out! Did you add any fun twists? Snap a photo of that golden topping—I live for those cherry juice bubbles peeking through. Happy baking!
PrintSour Cherry Crisp

A delicious summer dessert featuring tart sour cherries topped with a buttery oat crumble. Perfect balance of sweet and tart flavors.
- Prep Time: 15 minutes
- Cook Time: 35 minutes
- Total Time: 50 minutes
- Yield: 6 servings 1x
- Category: Dessert
- Method: Baking
- Cuisine: American
- Diet: Vegetarian
Ingredients
- 4 cups sour cherries (pitted)
- 1/2 cup granulated sugar
- 1 tbsp lemon juice
- 1 cup rolled oats
- 1/2 cup all-purpose flour
- 1/2 cup brown sugar
- 1/2 tsp cinnamon
- 1/4 tsp salt
- 1/2 cup cold butter (cubed)
Instructions
- Preheat oven to 375°F (190°C).
- In a bowl, mix cherries, granulated sugar, and lemon juice. Pour into a baking dish.
- In another bowl, combine oats, flour, brown sugar, cinnamon, and salt.
- Cut in cold butter until mixture resembles coarse crumbs.
- Sprinkle topping evenly over cherries.
- Bake for 30-35 minutes until golden and bubbly.
- Let cool slightly before serving.
Notes
- Use fresh or frozen sour cherries.
- Serve warm with vanilla ice cream.
- Store leftovers in the refrigerator for up to 3 days.
Nutrition
- Serving Size: 1 serving
- Calories: 320
- Sugar: 28g
- Sodium: 120mg
- Fat: 12g
- Saturated Fat: 7g
- Unsaturated Fat: 4g
- Trans Fat: 0g
- Carbohydrates: 52g
- Fiber: 3g
- Protein: 3g
- Cholesterol: 30mg
